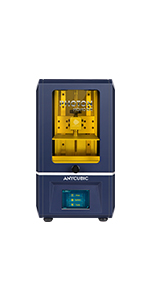
ANYCUBIC 3D Printer Photon Mono UV Light Curing LCD Resin 3D Printer with 6 inch 2K Monochrome LCD Screen, 50mm/h Fast Printing Speed, Print Size 130 x 82 x 165 mm


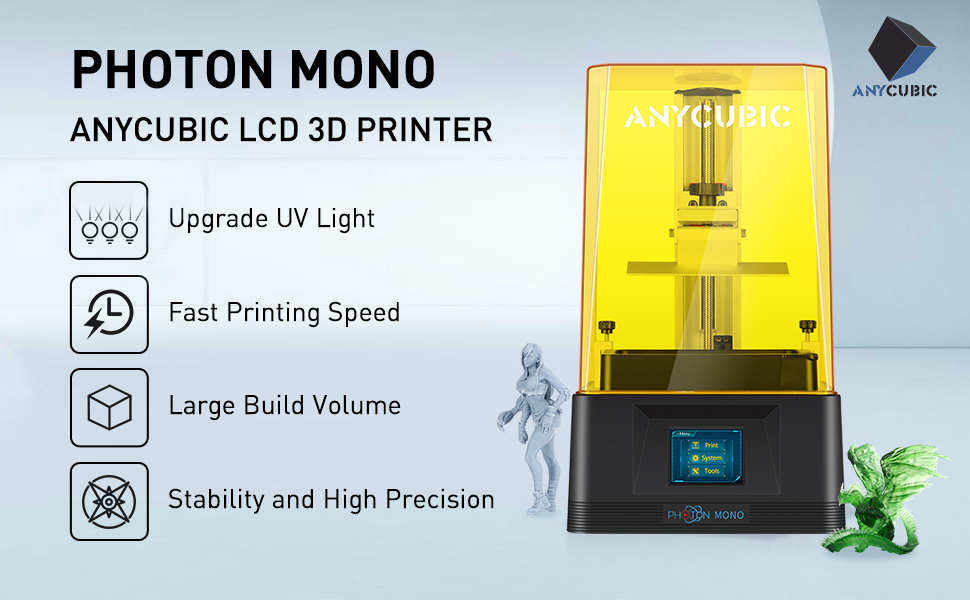
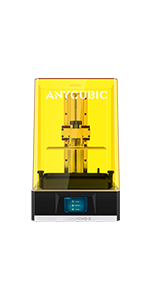
ANYCUBIC Photon Mono LCD Resin 3D Printer
Breaking the limits, High-speed Resin 3D printer
System : ANYCUBIC Photon Mono
Operation : 2.8 inch Touch Screen
Software : ANYCUBIC Photon workshop / ChituBox
Connectivity : USB
Technology: LCD-based SLA
XY Res.: 0.051mm 2560*1620(2K)
Z Axis Res.: 0.01mm
Printing Speed: MAX 50mm/h
Rated Power: 45W
Physical Dimensions
- Material: 405nm UV Resin
- Printer Size: 227mm(L)x222mm(W)x383.6mm(H)
- Build Volume: 130mm(L)x82mm(W)x165mm(H)
- Package Size: 295mmx295mmx530mm
- Net Weight: ~4.25kg
- Gross Weight: ~6kg
| | | | |
|---|---|---|---|
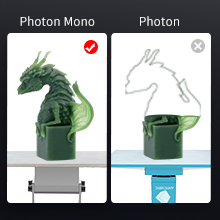
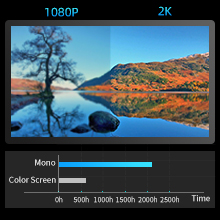
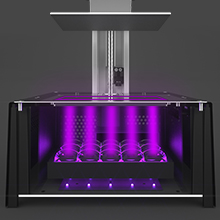
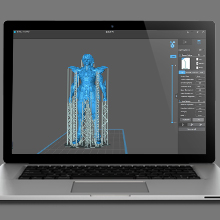
2.5X Faster Printing SpeedANYCUBIC Photon Mono printing speed is 2.5X faster than the regular 3d printers like Anycubic Photon, rapid prototyping greatly improved printing efficiency and saved more time. | 6.08″ 2K Monochrome LCDANYCUBIC Photon Mono 3D Printer comes with a 6.08″ Monochrome LCD with 2K HD resolution. It only takes 1.5 seconds per layer exposure to cure resin, and service life is 4 times than that of RGB LCD screen, saves material and costs. | Matrix Parallel Light SourceANYCUBIC Photon Mono LCD Screen Adopts matrix parallel light source, it has a more uniform exposure, higher efficiency and better heat dissipation. The model can receive exposure uniformly and improve printing accuracy. | Chitu Box SlicerIn order to provide customers with a better printing experience, our machine has added support for Chuitu box slicer, download Chitu box 1.8 bate version, files can be directly saved and used on Photon Mono. |
| | | | |
|---|---|---|---|
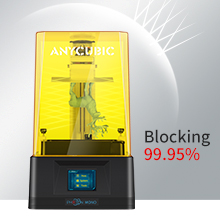
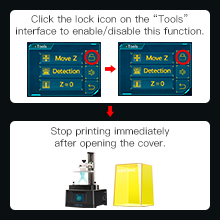
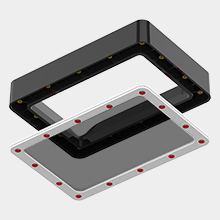
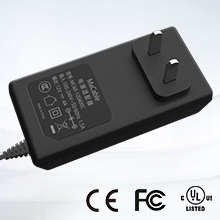
UV-blocking Top CoverWith the Photon mono transparent cover, you can watch your prints while still blocking 99.95% of the 405nm UV light. | Top Cover Detection1.The printer can be set to stop printing immediately after opening the cover. 2.Click the lock icon on the “Tools” interface to enable/disable this function. 3.Stop printing immediately after opening the cover. | Quick FEP ReplacementEliminate the cumbersome steps of replacing the release film, Only take three steps: 1.unscrew the screw; 2.replace the new release film without dismantling the steel ring; 3.tighten the screw; Replacement complete. | High Quality Power SupplyAll of ANYCUBIC 3D Printers power supply has UL certification, CE marking, and ETL certification. We ensure safe use. |
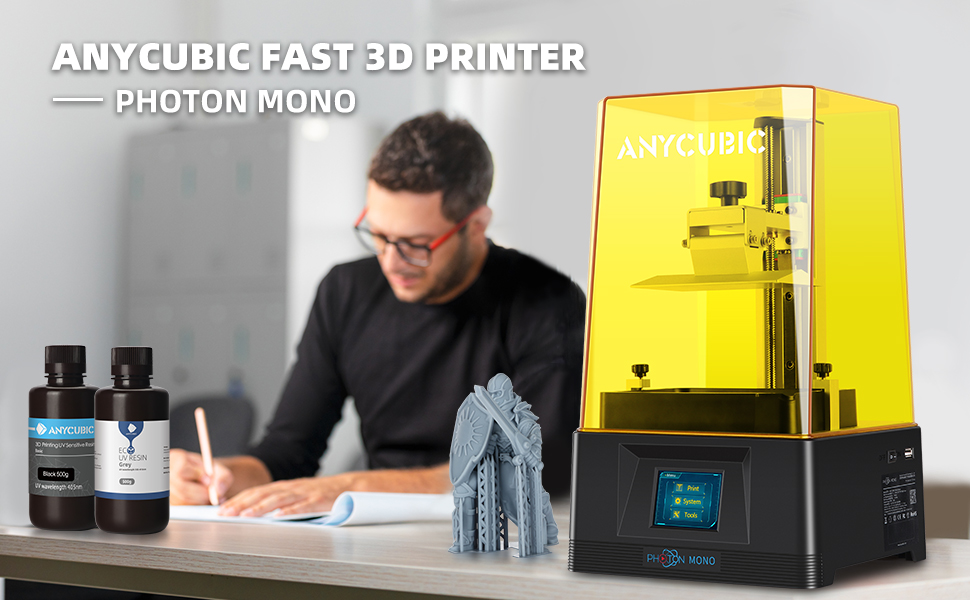
| Dimensions: | 22.2 x 22.7 x 38.3 cm; 4.25 Kilograms |
| Model: | Photon Mono |
| Manufacture: | ANYCUBIC |
So I got this delivered today.
I have 2 anycubic photon X’s but the screen has cracked on both (they’ve been hammered), and it would cost me more than the price to replace both, than it would have been to buy this . So I went for this fab little thing.
I say little – it’s bigger than my LD-002h, but smaller than my photon X’s.
Set up was really easy. Literally took minutes to remove the plastic screen and level the bed. Nothing else needed tightening. I printed the matrix first on basic settings on chitu. I’m using anycubics water washable resin (I usually use the normal translucent UV green but I’ve switched for now as I wanted to try water washable). The first matrix didn’t stick and I thought it was a levelling issue, so relevelled and then the second didn’t stick. I changed the settings from 23s bottom layer exposure to 25s, and it worked like a charm. Exposure was slightly too low so I changed it from 2s to 2.5s and it’s printed beautifully (this is for water washable – other resins may be fine for the original chitu settings, and some may need tweaking a bit more).
I probably could have done with sticking my little baby in meshmixer just to smooth it out, but because of the use for it it doesn’t really matter (I make bath bomb blanks for moulds).
The print time is a lot, lot faster than my photon X’s. What would take them 4 hours has taken half the time on my little M3.
I usually print 3 blanks on my photon X’s, but the build plate is smaller on the M3 so I just did the two to start with. But it’s still a decent sized plate – bigger than my LD-002h as that can only fit one of these on.. so using the two printers together makes up for the build plate size that I need (again, my photons are dead at the moment ).
I’m actually really pleased with it and I would really recommend it!
If anything changes (as I’ve only unboxed and used it today) then I will edit. But so far I’m really impressed.
I’ve used this printer for jewellery, minis, small props and recently printed off molecular models that would make an extrusion printer cry. Its easy to setup, intuitive to use and easy to clean. I’ve been using water wash resin in my apartment and had no issues at all. The resolution is as high as any hobbyist could wish for and the large print face means you can print in batches or play with larger designs.
One note about printing with this kind of resin (no fault of the printer) make sure you take your prints off the plate in a timely manner after the print is finished. They get more difficult to remove over time.
40um vocal size gives sharp, crisp prints.
Printing speed is incredibly fast at 100%uv, but it is harder to dial in when printing that quickly (0.03mm layers at 0.8-1.2 seconds depending on resin used).
Only issue is that the replacement FEP comes on a fixed frame – there are printable tabs that let you use standard replacement FEP sheets, but be aware that if you use the original anycubic ones they can be expensive.
Even with the non standard FEP, this is a solid unit and great value for the money.
Larger volume than most entry level printers, easy setup and leveling, consistent good results.
Recommended.
First resin printer. Build plate was smaller than I thought, my fault. Prints very well not had problems with build plate. Need to do more prints to test it. Would reccomend this unit.
Fantastic little printer and the print quality is much better as it’s got multiple points of lights instead of one single poi
My first 3d printer and I love it.
Easy to use, great results and pretty quiet.
I have it in the same room as me most of the day and the smell isn’t too bad either.
I’d recommend downloading an alternative slicing software than the one that comes with it (Chitubox is the best I found for free).
After printing, the cleanup was still a little smelly. I bought a flexible build plate from Amazon and it’s great. I just strip it off and straight in the washer to reduce the cleaning smell, then remove the print and supports afterwards. I also didn’t realise I don’t have to clean the vat after every print which produced more resin smell. I printed a vat cover from thingiverse and apparently the resin is good for weeks in the vat. So now it’s just a little IPA smell at cleaning time which doesn’t last long. It’s now an indoor hobby.
As others have commented, this is a great little printer and outperforms my old FDM (filament) printer in every respect except build size.
The only minor issue I have is that the SLA (resin) printing system can produce some unpleasant and potentially toxic odours.
The manufacturers have fitted a couple of activated carbon filters in the build chamber which helps but there is still a strong smell when printing which is why they recommend using the device in a well ventilated area.
One tip – I’ve found that taping a couple of cheap activated carbon facemask filters over the main vent on the bottom of the printer practically eliminates the odour. (see photo)
This machine came well packaged with all the tools and bits needed to get started.
When you unpack everything level the bed you are ready to do your first print as included USB dongle contain prepared file for test print.
This included file was me first print also.
After finished print I was delighted that my first print was successful and with lot of small details printed correctly.
Pros:
Very good print quality
Price is acceptable for this kind of printer
Print speed, doesn’t matter if you have full build plate or just one small object print speed is same for same height as curing process of resin is done over whole build surface at once.
Noise wise depend on your retraction speed this printer is quiet, noise coming from fan is beat louder that moving build platform but having it working in another room that doesn’t make any noise.
Cons:
Will be great to have option of network connection.
Notes:
This is a resin printer so be ready to do more cleaning compared to FDM printer
Overall I’m very happy with this printer and I will recommend it to anyone who is just going in to resin printing.
what can i say!
from first opening the box and seeing how well the printer was packaged, to all the accessories and such you get with it.
i jumped straight in and started setting it up, watched YouTube for setup videos (although, it really doesn’t take much working out!)
Levelled the bed, poured in some resin that came with it, plugged in the usb stick and printed the first file on the USB, this was a reference file to show the best exposure for the resin you are using, it came out perfect.
i then printed the anycubic ‘benchy’ that came out perfect….
so next i went and found a file online and printed it myself and what you see is a print, not much bigger then a 1p piece thats very detailed and im massively impressed!
I then printed a hulk bust that was hollow, it’s come out amazing with the supplied green resin, will look amazing with a small light under the bottom of it!
100% go for this printer!!
Having been a user of FDM printers for while i thought it was time to take the plunge and look at DLP printer.
This has a number of advantages the main one the level of detail you can achieve over regular FDM these really do look like cast or injection moulded items.
The printer arrives very well packaged and includes everything needed to get started.
Instructions (also available online)
Small kit of tools
Printing platform in a very nice blue.
Resin Vat
Power supply
Spare screws
USB memory stick with splicing software and test prints
Mask and gloves
Plastic Scraper
Extra FEP film (for the resin Vat)
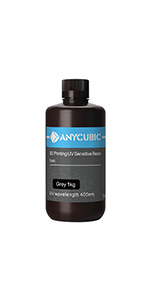
Random Colour 500ml bottle of Resin (I got Clear Green)
Funnels inc filter (for filtering the resin after use)
The machine pretty much comes assembled ready to use, you just need to fit the Printing platform , level, inspect the vat (ensure the film is tight), fill the vat (1/3rd full) and select your print.
While it’s pretty simple to setup there are some key points to success.
Download the full manual from the Anycubic website, the printed instructions are basic and the full manual includes all the details you need.
Take your time to correctly setup and level the printing platform, this really is the key to 100% success and reduced failed prints.
Initially i did not tighten the levelling screw enough and the platform moved on the first print. Really make sure its tight unless you like levelling.
While the ball joint is tricky to start with you get the hang of levelling all 4 corners after a while.
Also make sure the printing platform is square to the LCD screen.
That pretty much the setup, get it right and you’ll print first time.
Also make sure you order or have IPA ( isopropyl alcohol ) on hand for cleaning and washing your going to need a lot of it 🙂
The software on the memory stick comes with windows and mac versions along with test prints, ( the machine only seem to read the root folder so there is another test print, cube in a folder you can move to the root folder).
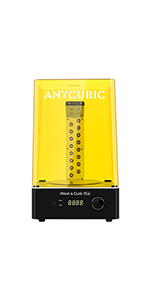
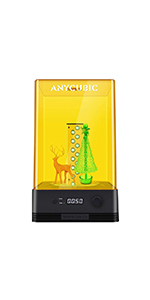
If you are going to print loads consider a wash and cure machine to take the hassle out of post process.
The last note for successful prints. Master supports , what type and when they are needed.
Positives
For the price you get a lot for your money these machine use to cost 1,000’s
Incredible detail, you will be amazed just how much detail you can print.
Easy to setup and easy to use.
Slicing software is really fast ( Compared to others I’ve used)
High resolution print screen
Quiet ( actually soothing to listen to)
Great brushed aluminium print surface ( prints really do stick first time if set right)
Encased with air filters ( great reduced resin fumes)
Negatives
More expensive than FDM
Messy, there is a lot of clean up and process post print to get the most out of it.
Resin, is not great to handle you need to take precautions for safety. ( Gloves / Mask )
Overall, this is an amazing piece of kit, if your use to regular FDM printing, you will be blown away with the level of detail you can print and the final product. Really impressed with the machine, plenty more prints to come. Definitely one of the best things I’ve purchased in years.
I hope you found this review enjoyable and helpful.
Well, i’ve said let’s have a go, and to be fair, i’m quite excited by this new printing experience. For me was kind of fantasy looking at it the way it prints. I guess if my grandma would see it she would definitely be shocked.
As i’m new to it i aas little bit struggling with software and to set up, but it’s not that hard as i was thinking. Instruction manual and online resources directed me properly.
Overall it prints pretty accurate figures and objects. I do like it and keep doing different experiments with it.
Expensive piece of kit to be honest but i do enjoy i