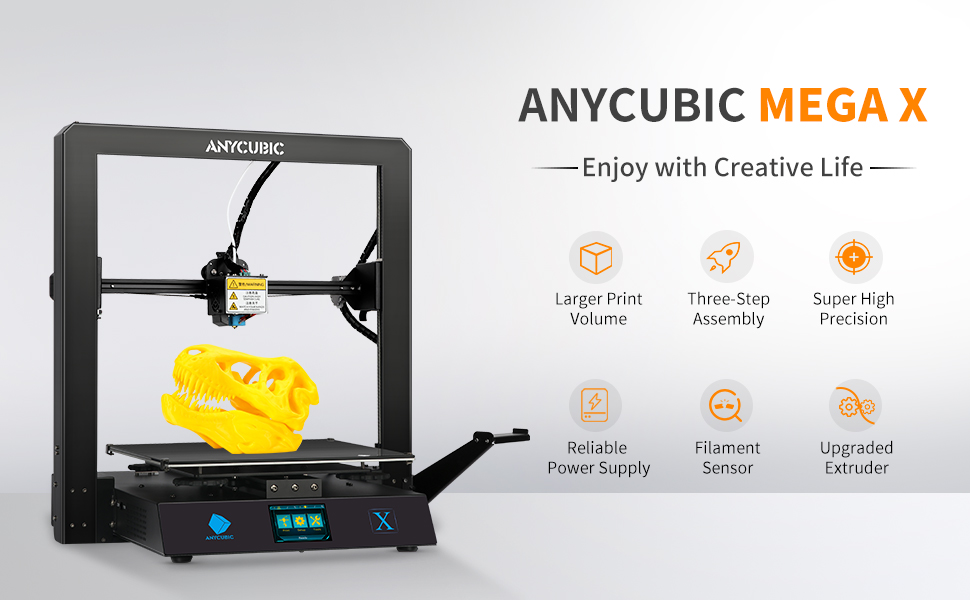
ANYCUBIC MEGA X 3D Printer, Large Metal FDM 3D Printer with Patented Heatbed and 1kg PLA Filament, Build Size 300 x 300 x 305mm


About ANYCUBIC
ANYCUBIC has gathered a strong R&D team from domestic to overseas. A simpler, smarter and more practical philosophy has been applied to create high-quality 3D printers to meet professional and daily life needs.
Our goal is “The most popular 3D printer brand” based on quality products, fast service, and innovative functions, to improve living quality and contribute to social development.
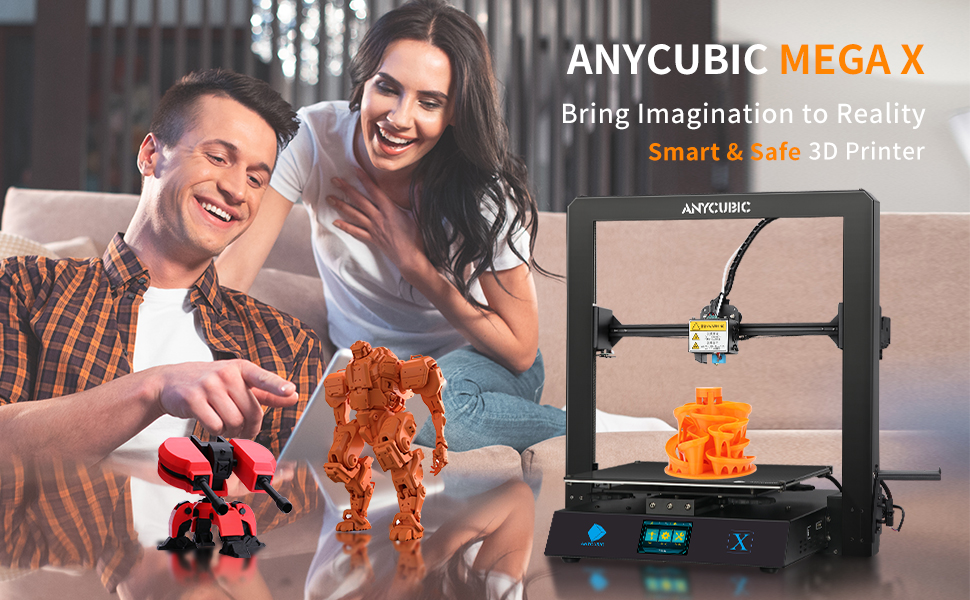
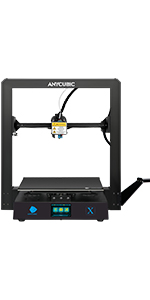
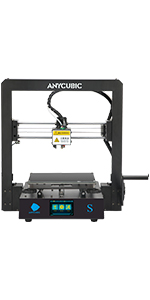
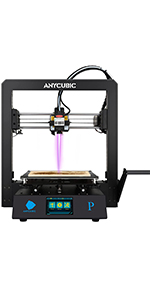
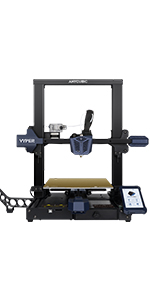
ANYCUBIC Mega X FDM 3D Printer
How newcomers to 3D printing would have an easy time of it starting off with this filament 3d printer. 3D printing is a labor of love that requires tinkering and lots of trial and error.
- Printing Technology: FDM 3D Printing(Fused Deposition Modeling)
- Certifications: UL, CE, FCC, RoHS, EN
- Input Rating: 110V/220V AC, 50/60Hz
- Software Input Formats: .STL, .OBJ, .DAE, .AMF
- Software Output Formats: GCode
- Weight: ~14kg
- Printer Dimensions: 500mm x 500mm x 553mm
- Slicer Software: Cura
- Nozzle Diameter: 0.4mm
- Print Speed: 20~100mm/s
- Travel Speed: 100mm/s
| | | |
|---|---|---|
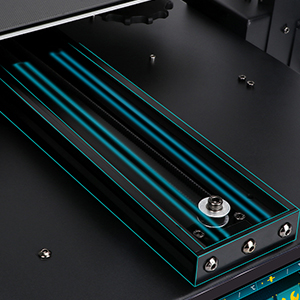
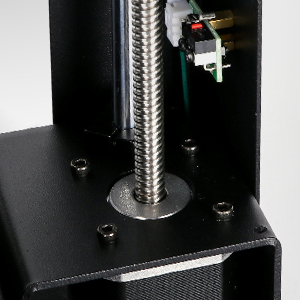
Rigid Metal FrameOne-piece frame, all-metal body, to ensure the stability of the body, ANYCUBIC Mega X 3D printer effectively reduces resonance shaking during printing, which greatly enhance the print quality and restore more details of the model. | Y Axis Dual Sideway DesignMega X 3D Printer’s Y-axis integrated guide rail design with customized aluminum profile module, which takes into account the Y-axis linear motion and platform stability, can maximally improves the printing accuracy. | Z-axis Dual Screw Rod DesignANYCUBIC Mega X uses the Z-axis double screw motor design, which is more durable, does not lose steps, and has higher accuracy than traditional coupling motors, Better reduce the possibility of printing errors. |
| | | |
|---|---|---|
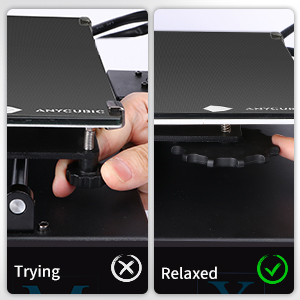
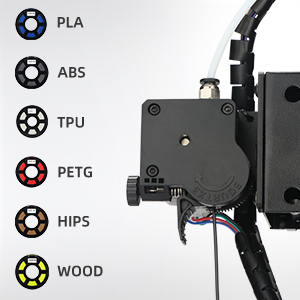
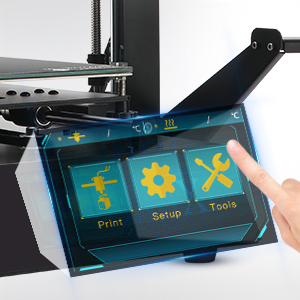
Low Effort LevelingSpecial large-size leveling knob, compared with traditional knobs, Mega X 3D printer’s leveling saves more than 60% effort. After replacing the special knob, the leveling will be more labor-saving, and it can be easily pushed with one finger. | Powerful Titan ExtruderEquipped with updated Titan extruder, the optimized combination of the classic extrusion system, ANYCUBIC Mega X provides greater torque to ensure smooth feeding, not easy to jam, and compatible with flexible 3d printer filament. | TFT Touch Screen3.5″ TFT Touch Screen, user-friendly interface, simple operation, rich functions, smooth operation, one-key switch between Chinese and English, which can provide you a different touch screen experience on 3d printers. |

| Dimensions: | 50 x 50 x 55.3 cm; 19.5 Kilograms |
| Model: | 3DMGX |
| Manufacture: | ANYCUBIC |
| Origin: | China |
I got this to replace my damaged (beyond economical repair) Flashforge Dreamer, and I have to say, first impressions are excellent. I’m not sure if it’s just that printer technology has moved on massively in the last few years, but the Mega X is just so much more configurable, even mid print. The print quality (despite only using basic resin and settings) seems faultless. I will be testing further with some premium filaments and tailored settings soon.
I decided to skip the usual supplied test print and go straight in to a project I needed to get finished (a drip tray for a friends Tassimo coffee machine). The first layer appeared to be under-extruding, so a slight twist of the dial on the extruder, and it was sorted. No need to wait of the print to finish and re-run – just fix on-the-fly.
My only comments would be that while the hot end heats up very quickly, the bed (possibly due to its size) takes quite a while to hit 60C. This may also be because of the 12 Volt PSU, which is standard in printers in this price range, though. The printer DOES in fact come with a mos-fet setup though, which I’m pretty sure the earlier Mega printers did not.
The noise, while not the quietest, did not seem anywhere near as bad as reviews suggested – certainly no where near the volume of my old Dreamer. New stepper drivers and fans would help with this, but as my printer is in a dedicated studio, it’s not a priority for me.
Overall, really very happy with this printer so far, and I will be pushing it with a variety of models and filaments over the coming weeks.
The Anycubic build plate really cracks the big problems of build adhesion and removal. No need for tape, glue, etc., heating the plate makes it stick superbly and simply letting it cool makes the item pop off easily. I really love this printer and am very pleased with the items I have printed so far and looking forward to some fun building with it. I had a problem with the machine when I had put it together (a really simple 20 minute or so process by the way) which was resolved by their customer support, who responded to emails as soon as possible (given that they are in China) and who really set Anycubic apart. This is a very solid and well built machine and I would recommend it to anyone considering a 3D printer purchase.
The Anycubic build plate really cracks the big problems of build adhesion and removal. No need for tape, glue, etc., heating the plate makes it stick superbly and simply letting it cool makes the item pop off easily. I really love this printer and am very pleased with the items I have printed so far and looking forward to some fun building with it. I had a problem with the machine when I had put it together (a really simple 20 minute or so process by the way) which was resolved by their customer support, who responded to emails as soon as possible (given that they are in China) and who really set Anycubic apart. This is a very solid and well built machine and I would recommend it to anyone considering a 3D printer purchase.
I removed the contents and went straight to the Anycubic build guide video. This helped me get the printer up and running really quickly and easily. As the video notes, you may need to adjust the v-wheels which I had to do but that was a simple step and all the tools required come with the printer.
Once it was assembled I followed the bed levelling instructions and within about 15 minutes (you don’t want to rush that step) I was read to try my first print.
I tried to load the filament but has a small issue where the filament wouldn’t pass-through the extruder. A quick check of the PTFE bowden tube and I found that it wasn’t inserted all the way into the extruder. Once that was pushed down until it would go no further I was able to insert the filament.
The included SDCard comes with a sample print – a pair of owls. If you look at the included pictures you will see the printer printing the owls and the finished article. Also of note is the noise of the printer, it’s much much quieter than my i3 Mega.
I’ve printed several different objects including a Groot in wood PLA, and the Burj Khalifa in Anycubic Silver PLA and the results are excellent. The slicer I use doesn’t list the Anycubic Mega X printer. Instead I added the Anycubic i3 Mega printer and amended the X, Y and Z sizes to match what the Mega X can do. .
Currently I’ve not made any other changes to the my slicers profile so with some tweaking I’m expecting to get even better results than I currently have, which to be honest are already very good indeed.
If you are looking for your first printer but are put off by the complexities then this is a great, easy to build and easy to use first printer.
If you already have experience with 3D printers and want something capable of producing excellent prints that would rival the higher end (and higher cost) of other printers then look no further.
What makes this printer stand out is that even as an accessible printer the results are fantastic.