Merryhill Mushrooms – Ready Growing Nameko Mushroom Growing Ki


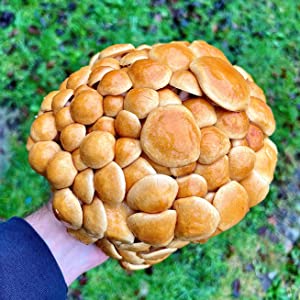
Nameko Mushroom Grow Kit
Quick and Easy Mushrooms at Home
This Nameko Kit comes ready growing (Don’t leave it within the postal box) and it’s growth when in crop is really spectacular, Your kit is already growing so your first crop is weeks away rather than years.
Growing Tips
These kits come in an outer protective wrapper, which you will let the mushrooms mature within until they are a few inches tall. Once ready remove the top portion of the wrapper, 4-5 inches above the top of the mushrooms which will protect the mushrooms as they grow. Within 3-4 weeks your mushrooms will be ready to pick. Ideal Temperature 15-17°C
Each Kit Contains
- Organic Nameko Log
- Easy step by step instructions
| Weight: | 3 Kilograms |
| Manufacture: | Merryhill Mushrooms |

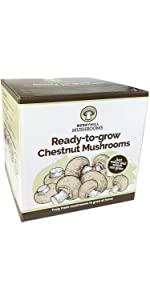
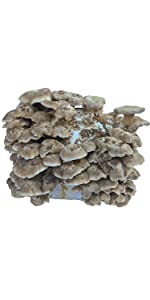
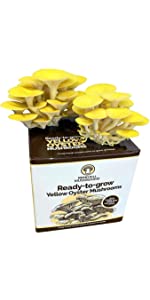
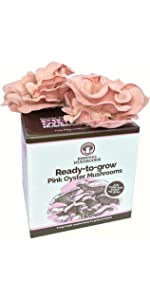

I love mushrooms but I live in a food desert, so a kit is the ideal way for me to get hold of fresh specialist ones like nameko. I can buy small boxes of them online, but they’re fragile and I’d rather spare them the journey. All the Merryhill kits I’ve grown have been phenomenal growers and terrific value for money.
TLDR: looking at the reviews, I think where you grow your bag must be the critical factor, because my mushrooms live on a ledge in the stairwell that’s cooler than the rest of the house and has a much higher relative humidity, currently 70%, and they all grow like crazy. I know nameko have a reputation for being finicky about growing conditions, so I was surprised by how easy it was.
I’d had a shiitake kit from Merryhill a couple of years ago and I was overrun with mushrooms. (In a good way, obviously.) Maybe I’m just the Mushroom Whisperer, but I’m getting an incredible crop from the nameko kit and I’ve had to start freezing them because I can’t eat them fast enough. Many of them are fully grown and starting to drop spores already. (The fine reddish-brown dust you might find on your hands when you handle them.)
The image shows a few days of development before I stared harvesting. As of this morning, the surface of the substrate is covered with mushrooms. I didn’t find this a slow-growing variety at all. It caught me off-guard, in fact. It’s the first time I’ve had nameko other than canned ones and they’re well worth the modest effort of growing them.
A tip: prepare yourself for the fungal tsunami before you place an order. Work out how you’re going to preserve the ones you can’t eat straight away and stand by with a big plastic cover for when they outgrow the plastic bag they come in but you still need some humidity around them. I freeze mine raw (but I cook shiitake first) and I use the top half of one of those transparent zip-up storage bags as a grow tent. By top half, I mean cutting horizontally and getting rid of the zipper half so that it forms a rectangular tent held in shape by the seams. (This is what I used: https://www.amazon.co.uk/IKEA-DIMPA-Storage-Moisture-Protection/dp/B07F98BQ6W/ )
Pro:
* Full instructions, and fast, helpful support if you have more questions.
* Very easy, even for a variety reputed to be a bit of a challenge.
* Big yield.
* A delicious variety I can’t find fresh in a supermarket and struggle to find in tins.
* Kit mushrooms are as fresh as is humanly — okay, mushroomly — possible. No guesswork with opaque packaging and zero best-before dates in the shops and then opening the pack at home to find they’re already way past their best.
* A fraction of the cost of buying them by the pack. The kit’s paid for itself already and I haven’t harvested most of it.
* Huge fun, and kids will love it.
* May well crop more than once.
No cons, but something to be aware of:
Nameko cram together when they grow, so it’s a challenge to pick one at a time. Experts say pull out a clump, because they come away cleanly with a gentle pull, but I wanted to select the most mature ones first which meant a more surgical approach so that I didn’t rip out too many of the tiny ones still developing. So I opened up some working space by pulling out a few and then cutting or pulling them carefully from the side.
Where my experience differed from the instructions:
The instructions are very clear and tell you to leave nameko in their sealed bag and cut it open when they’re getting nearer harvest size. The bag might look murky and white inside at first, but later you suddenly see that ginger colour through the haze and you know you’ve got mushrooms. As they approach full size, you cut the bag lower. Well, mine behaved a bit differently. Apart from growing very fast, they were crushing themselves against the side of the bag, so I decided to cut the bag down early and cover them with something bigger, hence the storage bag solution. It worked fine and I was even able to coax out the mushrooms that were trying to grow down the sides of the substrate block. The humidity around them within the storage bag “tent” is currently 78% and they seem happy, as does the king oyster block growing next to them.
All in all, worth every penny. Your miso soup deserves these.