GeeekPi Raspberry Pi Zero 2 W Starter Kit,with RPi Zero 2 W

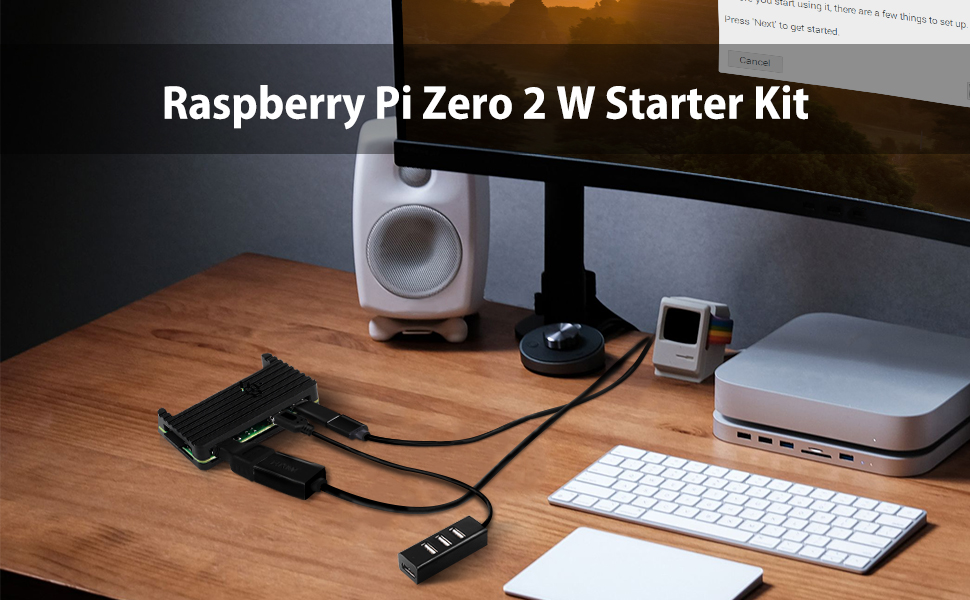
GeeekPi Raspberry Pi Zero 2 W Starter Kit,with RPi Zero 2 W Aluminum Case,32GB SD Card Preloaded OS,QC3.0 Power Supply, 20Pin Header,Micro USB to OTG Adapter,HDMI Cable,Heatsink,ON/Off Switch Cable


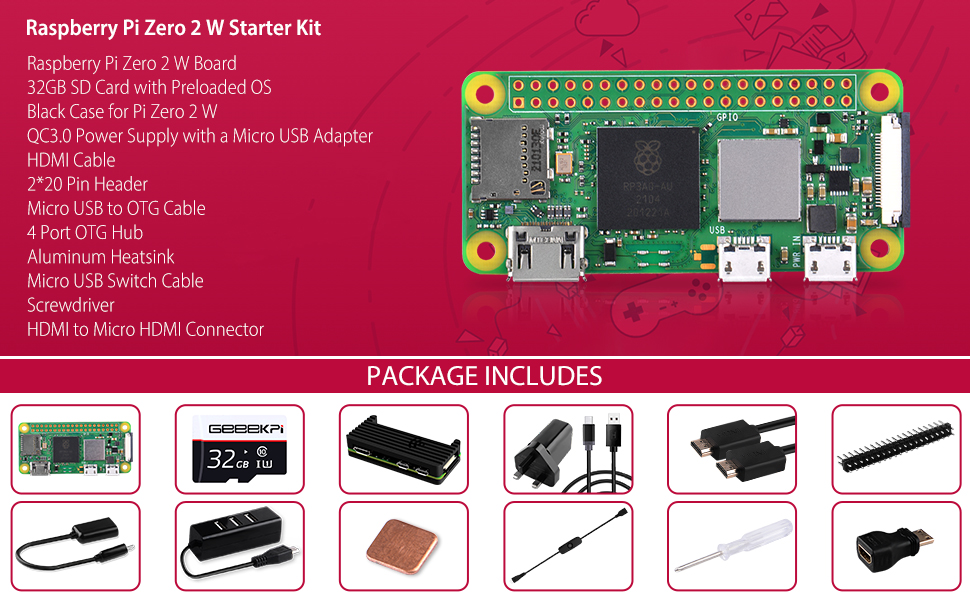
Raspberry Pi Zero 2 W Starter Kit
Package includes:
1x Raspberry Pi Zero 2 W Board
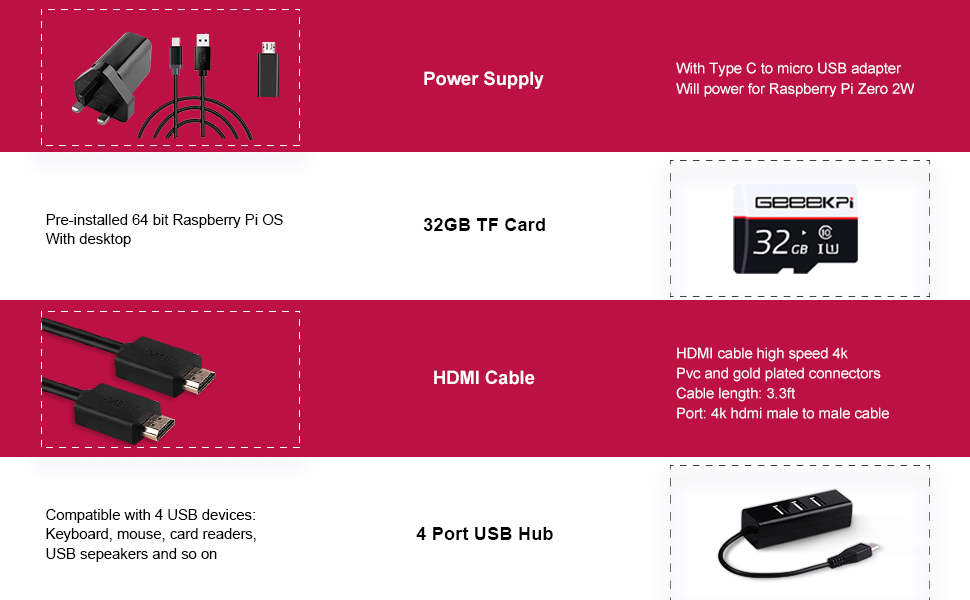
1x 32GB SD Card with Preloaded OS
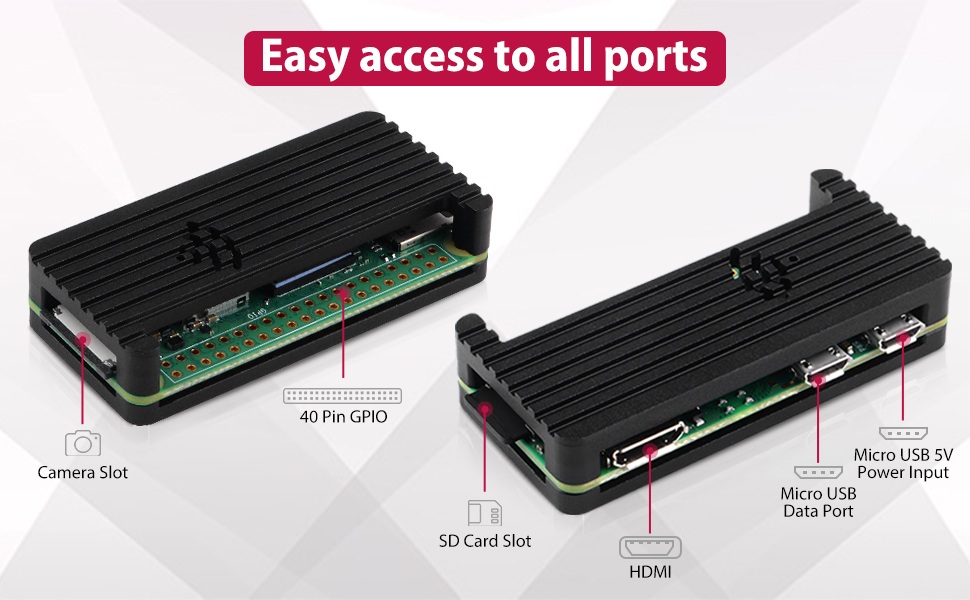
1x Black Metal Case for Pi Zero 2 W
1x QC3.0 Power Supply with a Micro USB Adapter
1x HDMI Cable
1x 2*20 Pin Header
1x Micro USB to OTG Cable
1x 4 Port OTG Hub
1x Coper Heatsink
1x Micro USB Switch Cable
1x Screwdriver
1x HDMI to Micro HDMI Connector
| Dimensions: | 17.8 x 11.6 x 4.8 cm; 280 Grams |
| Manufacture: | GeeekPi |
| Dimensions: | 17.8 x 11.6 x 4.8 cm; 280 Grams |
| Origin: | China |
When I received the 1st kit I was disappointed to find it had a dead power supply which I only discovered after assembling the kit. I managed to prove the Raspberry PI itself was working by using another power source. Technical support page seems rubbish (wouldn’t let me submit a form). No assembly instructions or pointer to a web link are included but a Google search against the Chinese company name on the box helped. I had to return the whole kit but then ordered it again. Suggest you test the power supply first before doing anything else and then keep checking it at each stage of the build!!
A tip for soldering the header – its best to get the solder to flow onto the pin first and then apply just enough extra solder to allow the solder to flow down the pin and onto the pad, covering the pad all the way around. Solder two opposite corner pins first making sure the header is sitting level before continuining to solder the rest of the pins. Clean the soldering iron tip every few joints.
Assembly: stick the self adhesive copper plate onto the metal shielded component on the board and apply one larger double sided heat conductive pad between the large IC and the lid of the case before using 4 screws the assemble the unit.
I have used this as an Octoprint server and its working a treat.
I used