UniBond 2079356 Anti-Mould White, Waterproof Mould
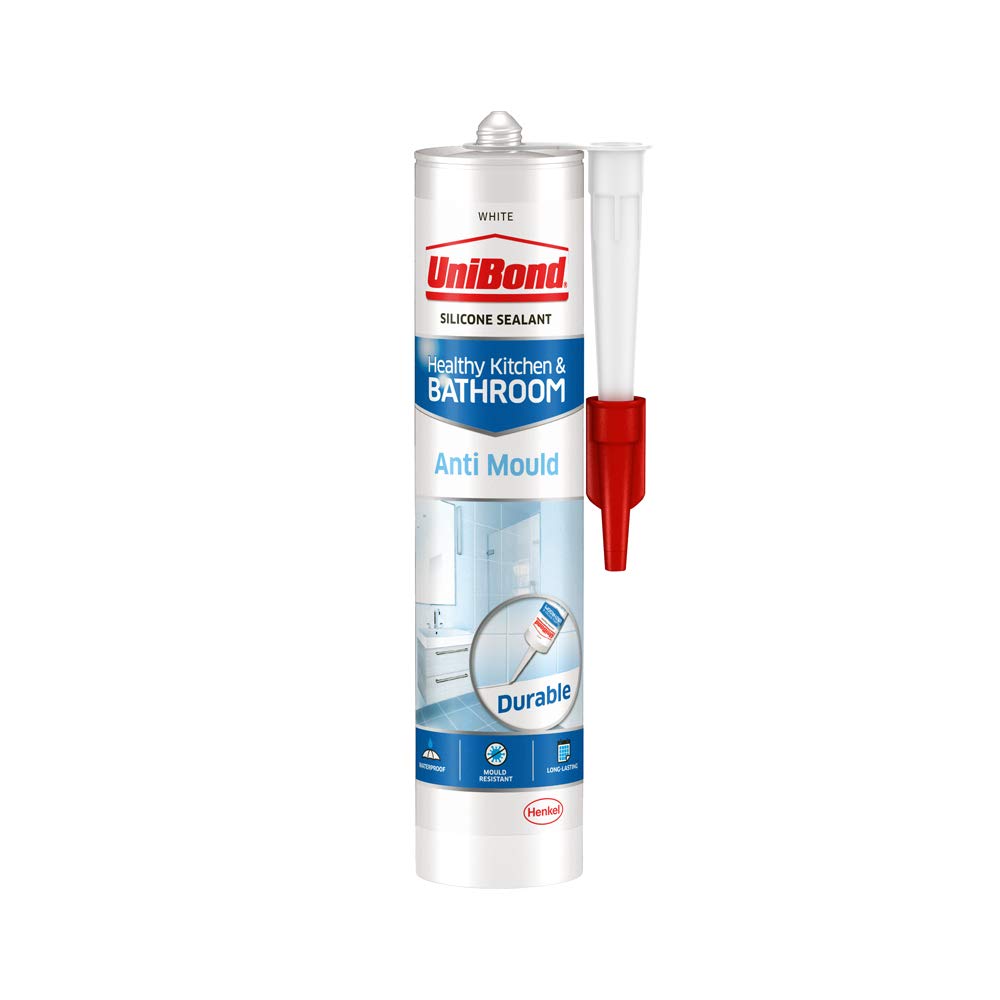
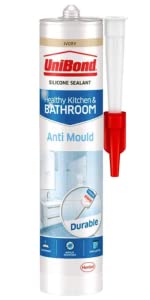
UniBond 2079356 Anti-Mould White, Waterproof Mould Protection Kitchen & Bathroom Sealant, Long-lasting White Silicone Sealant, Powerful Bath Sealant, 1 x 274g Cartridge
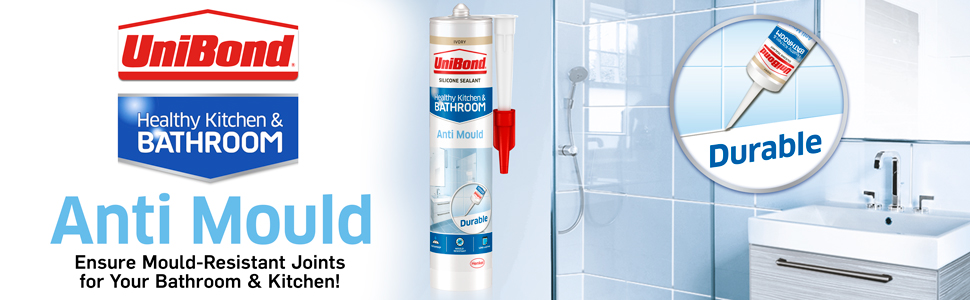

About UniBond
In the UK, UniBond offers a wide range of DIY products – Construction Adhesives, Sealants and Tile Adhesives. By offering guidance and smart total bonding solutions, it simplifies every kind of DIY job for both inside and outside the house.
 |  |  |  |  |  | |
|---|---|---|---|---|---|---|
| Format | 1 x 274g Cartridge | 1 x 100ml Tube | 1 x 291g Cartridge | 1 x 291g Cartridge | 1 x 371g Cartridge | |
| Colour | Ivory | White | White | White | White | |
| Anti-mould protection | ✓ | ✓ | ✓ | ✓ | ✓ | |
| Triple anti-mould protection | ✓ | ✓ | ||||
| Waterproof | ✓ | ✓ | ✓ | ✓ | ✓ | |
| Can be applied over old silicone | ✓ | |||||
| Doesn’t need sealant application gun | ✓ | |||||
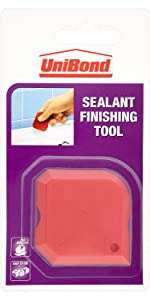
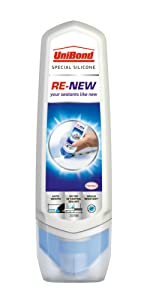
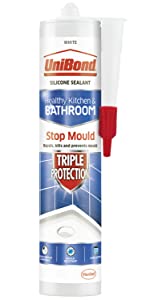
| Characteristics | Mould resistant, waterproof, long-lasting | Suitable for smoothing all types of sealants | Can be applied on top of existing sealant, integrated smoothing tool, repels, kills & prevents mould, waterproof | Power shower compatible, repels, kills & prevents mould, waterproof, long-lasting | Power shower compatible, mould resistant, fast drying time, waterproof, long-lasting | Odourless, mould resistant, easy to clean |
| Weight: | 274 g |
| Size: | Value Not Found |
| Dimensions: | 5 x 5 x 23 cm; 274 Grams |
| Model: | 2079356 |
| Part: | 2079356 |
| Colour: | Antimould White Cartridge |
| Pack Quantity: | 1 |
| Batteries Required: | No |
| Batteries Included: | No |
| Manufacture: | Henkel Ltd |
| Dimensions: | 5 x 5 x 23 cm; 274 Grams |
| Quantity: | 1 |
| Size: | Value Not Found |
Does the job with no issues,reasonable priced and arrived quickly
Very easy to use and and has a good finish
Just used this on my shower very easy to apply very good quality not like others that I have used and at a very reasonable price
It’s been good for three weeks so far, hopefully It stays that way.
Fast delivery and says what it is on the box
A high quality bathroom silicone sealant as you would expect from one of the leading brands.
Great product I was looking to sealant for windows. Good quality product and highly recommend by me to others.
used in bathroom area, very good product having paid that little extra, the quality shows in perfomance
This stuff is brilliant to be fair but it has some perks. It dries fairly quick sticks well but has an odour, it’s got a gritty feel when wet and dries very hard rubbery unlike cheaper sealants which are like a elasticated jelly this stuff is harder somewhat tougher to the touch. Seals well however, around dirt, dust and areas where it is hard to clean it seems to be a magnet for it. I have never found a sealant yet that does not just suck dirt and dust to it like a magnet and this is no exception. A quick spray and wipe brings it back to white and because of its harder tougher nature you cloth it tissue does not bind to the sealant it wipes over it white smoothly actually. Is it worth the price, I don’t think so, its good but overpriced for what it is, inferior sealants would do the job without the above pros but again I like the pros but would not consider paying 5x the going price for them
Very easy to use, very straight forward. First time using something like this and it went perfectly. Has lastet for at least 4 months in the kitchen without any decay whatsoever.
To apply the sealant, I found the best method was to use a plastic sealant finishing tool (See below). This tool helped me to smooth out the sealant and create a clean, professional-looking finish. It also made it easy to control the amount of sealant that was applied, which helped to prevent any excess from building up.
The sealant itself was easy to use and had a nice consistency, making it easy to spread and smooth out. It had a typical sealant smell and didn’t cause any irritation when I used it.
In general, I found this sealant to be a good quality product that was easy to use and provided a nice finish. However, the small patch of black mould on the section just behind the taps is a reminder that it is important to keep the surface clean & dry.
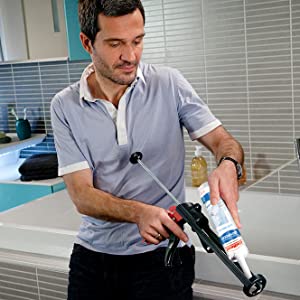
Applying this can be done with a standard caulking gun, but for a more professional finish, a plastic sealant finishing tool can be used.
Here are the steps to apply the sealant with a plastic sealant finishing tool: (YouTube also has some good videos showing how to apply it using the tool)
1. Cut the nozzle of the sealant tube to the desired width.
2. Apply a steady and consistent bead of sealant along the area where you want to seal.
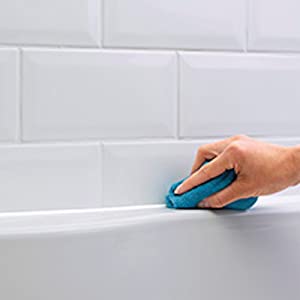
3. Use the plastic sealant finishing tool to smooth out the sealant, ensuring that it is evenly distributed and fills all gaps.
4. Use the tool to create a smooth and clean surface, paying special attention to corners.
5. To apply the sealant around corners, hold the tool at a 45-degree angle and use the corner of the tool to press the sealant into the corner. Then use the flat edge of the tool to smooth out the sealant, making sure that the corner is filled and the sealant is flush with the surface.
6. Clean any excess sealant with a damp cloth or paper towel.
7. Allow the sealant to dry and cure according to the manufacturer’s instructions.
It is also important to note that the surface should be clean, dry and free of any mould before applying the sealant. If there is any mould, it is important to remove it before applying the sealant in order to ensure the sealant will adhere properly and prevent the mold from coming back.
I gave four stars because I do not like silicone. Still it is s good produc
Used for re-sealing a shower. Works well, no longer leaking so happy!
My shower unit is 6 years old and gaps had developed between the shower base and the sheets protecting the wall. I hadn’t realised I also needed the ‘gun’ to use the tube, but thankfully was able to borrow one.
I also hadn’t realised that the repair material was translucent – but it did gradually fill the gaps and looked white like the surrounding material. So all OK. good job done!
Like most caulking of this type, this stuff smells STRONGLY of vinegar while it is curing….. which took over 2 days on the 50cm strip of windowsill I re-sealed.
As you would expect, this is smooth-able with a damp finger, but it is stickier/trickier than non-plasticised caulk.
The finish I eventually achieved was perfectly good. I wiped any excess off the windowsill and adjacent tiles instantly – but they still had a greasy residue where the excess stuff went. The grease was easy to remove the next day with a cloth dampened with methylated spirit.
So – great at what it is suppose to do, but a little more fiddly to use than some similar products (probably the same as other waterproof+flexible+anti-mould sealant!)
(1) Firstly, buy a good quality cartridge gun; the one I use has a sturdy yellow powder-coated metal frame with equally sturdy ABS plastic actuation levers. The thick zinc plated rod has the compression disc attached by a standard hex nut that secures it in place allowing the mechanism to be tightened, adjusted, repaired and replaced unlike many cheaper ‘throwaway’ items you often see for sale in big shed DIY stores.
(2) I picked up some good application tips from a tradesman a few years ago which has helped me avoid continual frustration from unprofessional and untidy looking DIY: before applying silicone sealant around a bath, mask off around the gap and HALF FILL THE BATH with water. This helps prevent the dried sealant stretching and cracking when the bath is used because the cured silicone will be roughly in the middle of its elastic zone, i.e. half-stretched with sufficient margin to both expand and relax. Smooth the bead with a silicone tool or damp finger the remove the masking tape before the sealant is fully dry to expose a clean, professional-looking sealant bead.
So I bought this and the unibond silicone finishing tool (any silicone finishing tool will make the job a lot better, the unibond one is cheap and easy to clean) and applied a proper seal in a 3 quarter filled bath. I prefer to cut my nozzle straight vs at a 45 degree angle as I find it allows for a more consistent bead for the finishing tool to smooth over. The silicone comes out the tube very smoothly (caulking gun required obviously), easy to control, sticks to cleaned surfaces well and was a charm to smooth over with the tool.
The outer surface cures quite quickly (within 5 to 10 minutes) so you need to be quick if you apply it to the whole bath before smoothing over otherwise the surface won’t be perfectly smooth and parts will appear streaky. Doing it in sections would be easier for a total beginner but I’m not a professional by any means and managed the whole bath in one go pretty easily.
Unfortunately, I had to fully remove the bath 6 weeks later to get at some pipework and the silicone is very difficult to remove when dried (if it dries on your clothes, it’s pretty much permanent). I tried WD40, white spirit, rubbing alcohol, silicone removal spray and tools, etc with little effect. Ever so slightly easier to remove but it stank and made quite a mess. Eventually, I found the best way was to use a chisel and no chemicals. Run the flat bit along the wall then the bath to separate the seal as much as possible then the bulk of it can be pulled off, with the remaining smaller bits removed easily with a razor blade or a Stanley blade.
I normally put a screw in the nozzle to close it (another reason for cutting at 90 degrees) but the provided cap on the nozzle was a nice touch and works well. After 6 weeks, the sealant in the nozzle was still good to go and showed minimal signs of drying. I managed to seal the bath twice, a wash hand basin, and a window frame and still had a little left over.
No complaints with this silicone and will suit all your DIY needs
Preparation is everything when using a silicon sealant. You have to get all the old sealant out (assuming you’re replacing) and then make sure the area is cleaned off with white spirit and is completely dry. You’ll need a cartridge gun and if you haven’t used one before, it’s worth using a little of the sealant in practice, before tackling the main job. If it’s a bath, always start in the corner. You need to smooth off within 5 minutes of applying to ensure a good finish and a smoothing tool can be useful, although I’ve used a finger wearing a tight fitting latex glove. The product page gives these and a few more tips which are worth checking. I half filled the bath with water before applying. From past xperience, if you don’t, the first time you fill the bath with water, the weight causes the sealant to stretch too much and the seal breaks.
Ensure that surface is clean, dry and free of old sealant
Cut the tip off the cartridge above the screw thread
Remove the nozzle cap and trim the nozzle at an angle of 45 to the desired joint width
Screw the nozzle onto the cartridge and insert the cartridge into the gun. Apply by pulling the trigger
Smooth sealant with a sealant finishing tool within 5 minutes
Remove excess sealant before it dries with white spirit. Protect the sealant from water and damp
Allow to fully dry in at leats 24 hours depending on bead size, temperature & humidity