KOALA Premium Inkjet Iron On T Shirt Transfer Paper
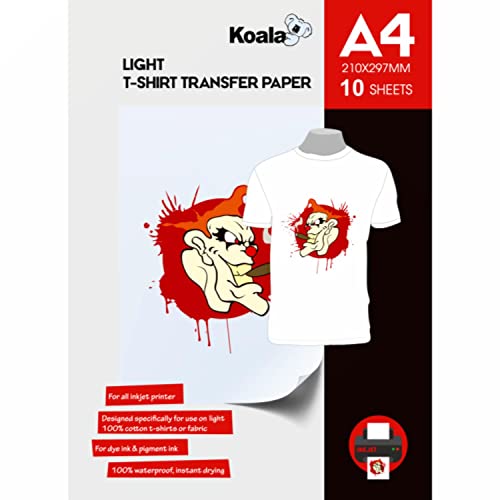
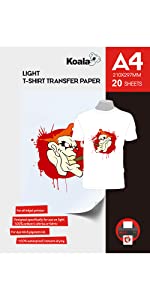
KOALA Premium Inkjet Iron On T Shirt Transfer Paper for White and Light Fabrics x 10 Sheets, A4. Vivid, Long-Lasting Images. Easy to Use
Trouble Shooting Guide
- If the backing paper does not peel off easily, tear edge to begin peeling process
- If colours are bleeding /feathering, reduce the amount of ink coverage in the printer settings or do not expose to moisture
- If have cracks and edges are peeling, follow the instructions carefully – use strong pressure, the right amount of heat, and the right length of ironing time. Remember large images need more time
- If edge lift-off: Make sure the edges are rounded. Sharp edges have a tendency to lift off especially after multiple washes
- Drying time will vary depending on the printer, ink brand, ink coverage, and room conditions
- Store unused paper in the original package. Keep the open package in a cool, dry place
 |  |  |  |  |  | |
|---|---|---|---|---|---|---|
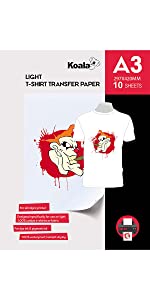
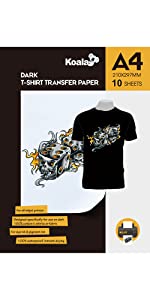
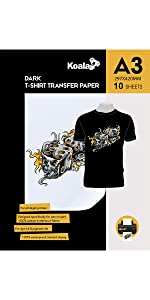
| Fabric type | Light | Light | Light | Dark | Dark | Dark |
| Size | A4 | A4 | A3 | A4 | A4 | A3 |
| Sheets | 10 | 20 | 10 | 10 | 20 | 10 |
| Mirror printing | Yes | Yes | Yes | No | No | No |
| Background colour | Clear | Clear | Clear | White | White | White |
| Weight: | 140 g |
| Size: | A4, 10 Sheets |
| Dimensions: | 29.8 x 21.7 x 0.7 cm; 140 Grams |
| Brand: | Koala |
| Colour: | 10 Sheets for Light |
| Pack Quantity: | 10 |
| Manufacture: | KOALA |
| Dimensions: | 29.8 x 21.7 x 0.7 cm; 140 Grams |
| Quantity: | 10 |
| Size: | A4, 10 Sheets |
Used these to make personalised photo t-shirts in support of family running the London marathon. Good for the price. Choose the picture. Normal printer with normal ink and away you go. Pictures came out nice and recognisable.
We had a small project where we wanted to print the grooms face on the brides hen do dress. Low expectations but it was absolutely brilliant! This is so worth the money and if you follow the instructions it comes out amazingly
The product certainly worked but the print quality feels rather fragile. It’s not close to the quality of a normal printed shirt from a shop. But got the job done and was easy to use! I’m satisfied 🙂
Just wanted these as a little logo for some hoodies I have made for the family. Easy to stick on, they did however look slightly cracked but I wanted the washed out effect to match the jumpers. Fingers crossed they wash well! Only negative point is instructions are not that clear but that might just be me!
I have recently started small fitness clothing brand and use transfers to make samples and check design.
Transfer paper like this is used ONLY for temporary or promotional use. Dont expect ready garments to last years or months ( in some occasions wont last weeks )
But its perfectly suitable for temporary promos, birthdays and other celebrations. Use os simple and quality is great.
Pro tips:
1. When printing out – make sure your design is good quality.
2. If printing with photo printer – use regular print high quality but not photo print.
3. Be precise when cutting out design and leave as less empty white space as possible.
4. If / when ironing on – use hard stable surface.
5. If using both sides of garment – makes sure you give enough time for design to cool after ironing .
6. Print design / dry design for 5 mins / iron product / iron design on ( up to 2 mins ) / let it cool for 3-5 mins / peal backing paper off / iron again using release ( teflon ) paper for 2-3 seconds to cure design.
If you follow everything – you will be happy with end result.
The idea worked very well and the 7 year old was very pleased with the execution of this idea.
Some comments:
1) If you are printing text from a scanned image you will need to create a mirror image prior to printing. We used an online service that I can’t find now, but was very easy
2) The paper can be cut to the outline of the print to make it easier to fit images on to the target area
3) Iron without steam and ensure you use the cover paper over the whole area being ironed
4) if you’re doing a Tshirt with transfers already done on the one side (e.g. the front), ensure you use a book or similar inside when doing the back or the iron will melt the first transfer on the other side onto whatever is beneath
Used this product to personalise my 6 year old’s t shirt for a school project. It was easy to use though I would keep the iron on the item for about 30 seconds to make sure of a good fix. The print quality was pretty good too. Just make sure that you don’t get the iron near an area you have already applied a transfer to ensure the original one doesn’t get damaged. When doing something on the front and back, make sure you put the t shirt through the iron board so that only the top or only the bottom gets heat from the iron at an one time. Would definitely use again.