Smarter Surfaces Short Throw Projector Screen Paint 4.5m²
![Smarter Surfaces Short Throw Projector Screen Paint 4.5m² - White [Upgraded] | Projectable Wall Paint Standard 4K HD Projections | Designed for Short Throw and Long Short Throw](https://k4s.uk/posts/wp-content/uploads/2023/08/4118ljeSkmL.jpg)
Smarter Surfaces Short Throw Projector Screen Paint 4.5m² – White [Upgraded] | Projectable Wall Paint Standard 4K HD Projections | Designed for Short Throw and Long Short Throw


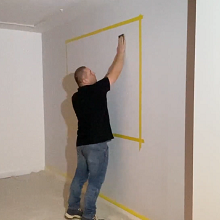
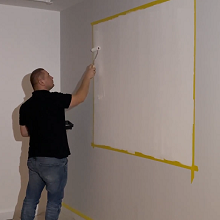

How do I paint my projector screen onto a wall?
Depending on your preference you can use a roller or spray, the overall application process is simple and straightforward.
How does this paint differ from normal wall paint?
The Smart Short Throw Projector Screen Paint has a special coating designed to eliminate hot spots. It also has unique reflective qualities.
What is the gain value?
Smart Short Throw Projector Screen Paint has a gain value of 1.21 at a viewing angle of 90.
Gain is a measurement of the reflectivity of any screen or projection surface.
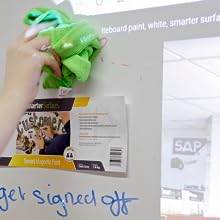
Is this paint writable?
No, this paint is not dry-erase. If you would like to create a surface to write and project on, please see our Smart Whiteboard Wallpaper Low Sheen or Smart Semi Matt Projection Paint.

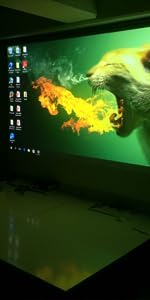


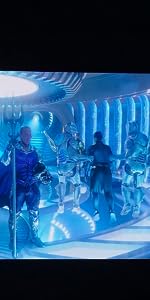
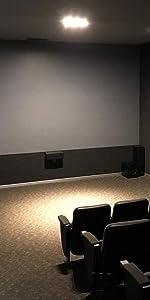
Setting up my new home cinema, I thought long and hard on what type of screen to use, and what would work best with Optoma UHZ 65 UST projector, I chose this paint from Smarter Surfaces. Application is easy with rollers provided and after four coats of projector paint, two base and two top, sanding down between coats, I now have flat, dense grey screen. The projected image is fantastic with natural colour, deep blacks and bright whites, all with no glare. To finish off I used a 50mm matt black Washi tape round the edges and although I say it myself, looks a very professional job!
The difference between the two paints is subtle but I would say the Projector Paint has a slightly more greyer white and fares better during the day with curtains drawn. If you have a lower lumen projector or simply want a bright picture with phosphorous whites then the Pro may suit you better. Both white paints are more for corporate clients in high ambient light. The Projector Paint Contrast the company recommends for integrated home theatre with darkened walls is a very dark grey that I had to squint to see the image on using their test card. It goes against the standard theatre advice of a white screen for dark walls and a grey screen for higher ambient light.
The photos were taken using a Samsung Galaxy A10 of an Optoma DLP HD29Hst 4000 Lumens projector in a small room at night with no blacked out walls and are brighter than the eye perceives the actual image. The Lena Headey photo has been adjusted to be a little closer to how your eye will actually see the paint perform. There is probably nothing new in terms of pigments. What you are paying for is someone’s trial and error I suppose.
Watching the Blu-ray , TV , Sky, Xbox or Wii is no different in quality than our 4K TV .
Very impressed with final image – see photos . Customer Service and support is excellent.
Highly recommended .
I believe that this product promises a gain of +1.0, meaning the wall now reflects the amount light from the projector (or more), rather than absorbing it. We do get an effect of ‘reflected light’ at ours… a cinema effect. I don’t know that I would have paid for a second tin to get this effect, though.