eXtremeRate Scarlet Red Custom Faceplate Back Plate Shell
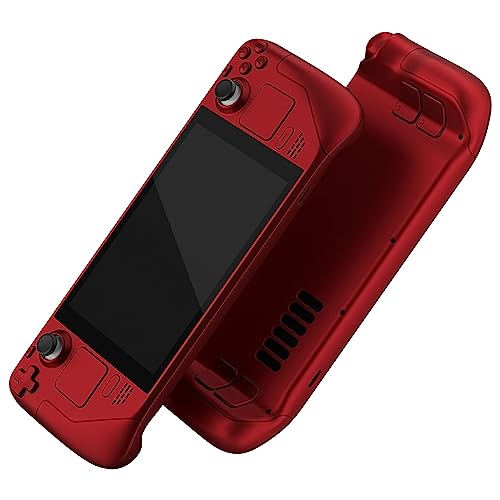
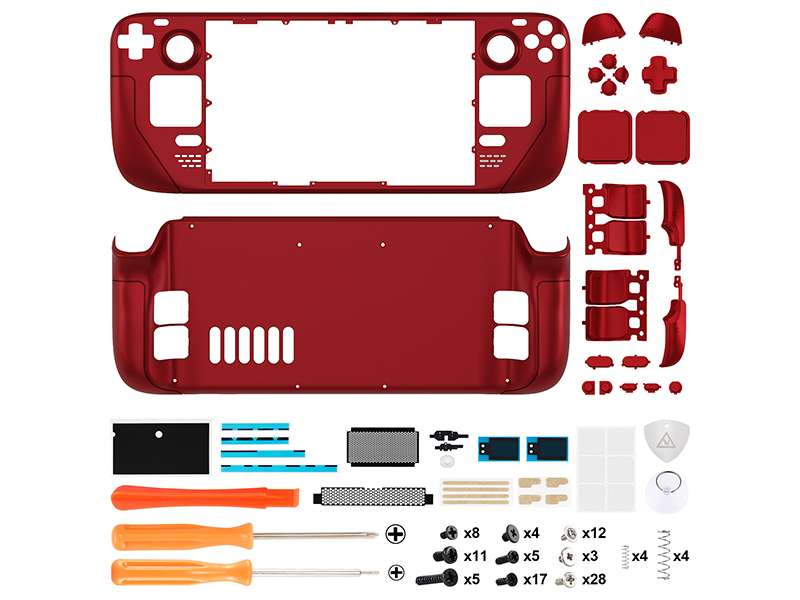
eXtremeRate Scarlet Red Custom Faceplate Back Plate Shell for Steam Deck, Handheld Console Replacement Housing Case, DIY Full Set Shell with Buttons for Steam Deck Console – Console NOT Included
Custom Replacement Shell Case for Steam Deck
- Want to make your handheld console stand out from the crowd?
- This is the way to go!
- Great customization option for DIY enthusiasts with a handheld console for Steam Deck.
- A unique gift option for your loved ones and friends.
Product Feature
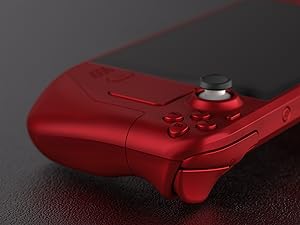
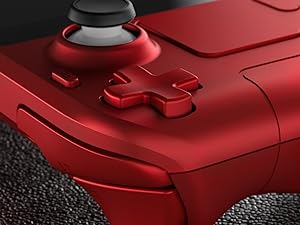
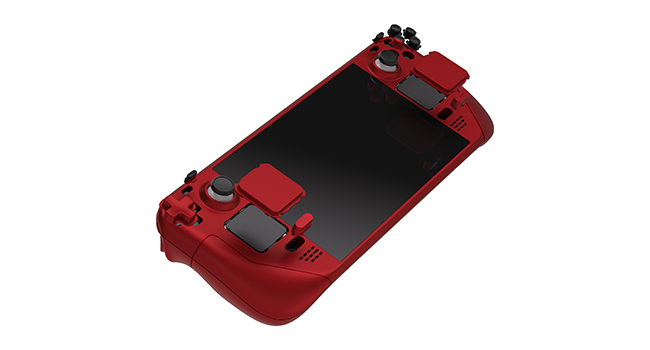
How difficult is it to install to full set shells for Steam Deck?
Installation can be challenging, so we highly recommend watching our installation video. Get the video on YouTube by searching “eXtremeRate Full Set Shell for Steam Deck”.
Is your scarlet red shell & button in Matte UV coating?
Yes, they are Matte UV coating.
What should we pay special attention to when installing replacement shells for the Steam Deck?
Please note that the screen needs to be disassembled to install the faceplate.
Don’t over heating and too long when heating the screen during disassembly.
Will there be any gaps between your backplate and the console? Will the trigger buttons get stuck?
No need to worry, our replacement backplates and trigger buttons are exactly like the originals. As long as they are installed correctly, you won’t encounter any of the issues mentioned above.
How do I clean my new console for steam deck after installing these replacement shells?
It is recommended to clean with a wipe with water. Do not spray water or al-cohol directly on the product surface. Do not use any other organic solvents for cleaning.
Find More Accessories
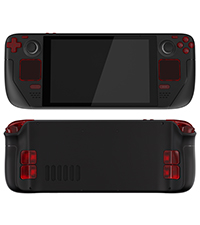 Replacement Button | 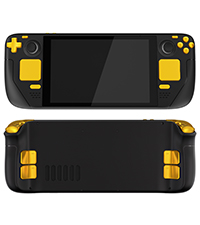 Replacement Button | 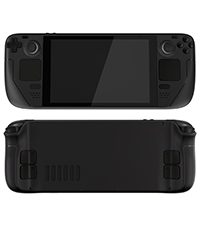 Replacement Button | 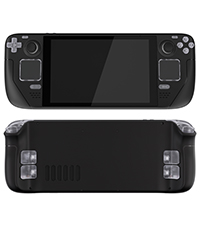 Replacement Button | 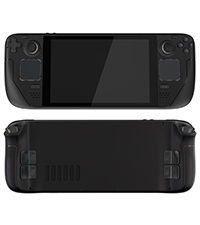 Replacement Button | 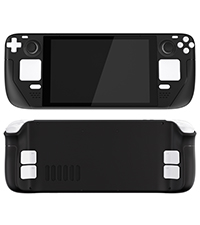 Replacement Button | |
| For eXtremeRate Steam Shell | ✔ | ✔ | ✔ | ✔ | ✔ | ✔ |
| Color | Clear Red | Chrome Gold | Black | Clear | Clear Black | White |
| — | — | — | — | — | — | |
| — | — | — | — | — | — | |
| — | — | — | — | — | — |
The quality is great but I wouldn’t recommend this to anyone the steam deck is extremely fragile and breaks if you look at it funny and this swap is a monolithic nightmare of complexity and things to go wrong. If you successfully shell swap the device buy a lottery ticket and thank God because you are clearly blessed by the Lord above but if not you wasted about 550 dollars because you wanted a fancy color and trust me you can’t do the shell swap consistently. I take stuff apart as a hobby and it is completely impossible for me.
This is a good, sturdy shell. Installation is a bit tricky, but their video guides you step by step through the process, and almost everything you need is included in the kit. I would recommend picking up tweezers, as those are not included, as well as a better quality suction cup for the screen removal, as the one provided is not the best quality. The buttons and touchpads included with the translucent green-blue shell are very smooth and for me personally are much more pleasant to use than the original ones. If you want to customize your LCD Steam Deck and aren’t afraid of messing with the hardware, I recommend this.
My friend and I both bought shells, he got one with a hazy purple and I the gradient (see last photo). The hazy has a better texture but is harder to see the internals, while the gradient is very slippery and smooth plastic but can see though it better. They both look great on, I didn’t consider the texture when buying but you might want to if you want to match your glossy or anti reflective screen. I didn’t use any of the buttons that came with my kit and reused the originals as the kit buttons were very glossy black. The only ones I had to use from the kit were the underside ones (they aren’t removable from the oiginal).
To put them on, independently it took both of us 4 hours each. Maybe just a little under. Don’t underestimate the complexity of these devices on the inside, I thought it might take an hour when starting but was very wrong. The kit comes with everything you need (except a hair dryer for heat) but you would do better with your own electronics dissasembly kit. It’s probably not suitable for absolute beginners but if you have ever pulled a laptop apart you can probably do this. There are video instructions for every step if you need them so it’s pretty hard to go wrong until you start doing the anxious stuff like pulling off the screen (be super careful and use a lot of heat).
Pictures don’t make justice, this shell is beautiful!
It is really painful to do the swap, it took me like 3 hours and all the time I regretted what I was doing, telling to myself “why I’m doing this, I had a working steam deck, I don’t know if I can put it back together”
Follow the video, keep the order of pieces, take your time, be extra careful with the connectors.
I see in other reviews that they provide a metal pick to remove the screen, I got a plastic one and I recommend you using a plastic one, otherwise you could scratch the screen.
I kept the same screws and the same buttons, pads and triggers, I like them better.
One thing that happened to me is that when I was done and tested it, no control was working. I went over all the connections and found out a couple of ribbons that I had to push in completely. After that everything worked as before.
Another thing is that the left trigger was scratching something inside. I thought that the case was not perfect. I loosened the base plate that holds the trigger, pushed it to the center and tightened the screws again, the scratching was gone.
Now it looks amazing and also feels better in my hands. The finish is glossy.
I was definitely hesitant to undertake this project but I have to admit it looks way better in person than in the preview photos.
This took me about 2 and a half hours. I only missed 2 screws (which I plan on going back in and figuring out where they came from). Highly recommend having a small magnetic screwdriver as the ones included are not. Or at least get a magnetizer.
If you are to take this on PLEASE use their youtube video and go step for step with it. I didn’t but I would recommend using the screws that come with the kit. A good bit of the original scres when reassembling didn’t fully take and were just spinning. It felt like I stripped out the holes but they are still snug. When it comes to removing the screen… BE PATIENT. Slow down, take your time, when in doubt USE MORE HEAT. I broke off a corner of the glass on my screen but didn’t lose any functionality. I opted just to get a replacemnt anyways instead of permanently adhering it back on. Honestly I would highly recommend just getting a screen replacement off the bat and go buck wild. Also it is almost guaranteed that you will damage your original she’ll, especially when trying to remove your screen.
All in all, this shell replacement is amazing, highly recommend for anyone that wants to really change up the look. Especially for anyone that loves the old transparent look of the old game boys. As much as I love DBrand, no skin can beat an outright shell swap like this.
I installed it alongside the DeckHD screen. I disliked the trackpads that came with the shell as it felt too slippery. I like that it looks like a big red psp now. Also I used a space heater as I did not have a heat gun or blow dryerdefinitely took a moment to remove the adhesives.
It’s worth the work it takes to install. Just get the proper heat tools to swap the screen. Ifixit has a great microwave pad that is great. I ruined my screen the first time.
super cute shade of pink, whole shell replacement was actually pretty straightforward! suction cup in the kit did the job, i recommend getting some guitar picks for the screen tho ;-P
A heat gun or blow dryer is useful for getting the screen out **(imo) and required to change out the touch pads.**
Save your old screws and use them instead of the ones provided.
You need to use the provided screws for changing the paddles.
I fixit has a great tutorial on making the switch, between that and the manufacturers video you are set.
Change out your thumb sticks and SSD while you’ve got it apart.
Have fun.
I am not a total novice to to tinkering with electronics, but this was a little more involved than usual.
I had my own tools already to make it easier, and my own plastic picks. The YouTube videos were spot on, but some parts gave me more fuss than they seemed in the video (removing the thumbpad boards from the square button/pad for example, uses another person’s suggestion and warmed it a bit with a hair dryer).
The screen part gave me some pucker factor, but I just went slow and got it really warm and worked the edge of the screen like the video. I had better suction cups, but to be honest I thought they put *too* much pulling force which made me nervous, so I used the “crappier” one and it worked fine.
All in all, it came out great. I may/may not have to reopen it a few times for things I might have missed (oops) or it didn’t fit together right, but I learned a lot about taking it apart several times. Super modular!
Took me about 4 or so hours. Just label everything to help keep track of you get confused.
I wish the “new” screws were labeled in bags to make for quicker swap outs instead of comparing a bunch of loose screws to the original ones to know what to use (you can also always use the original ones as well if you get frustrated/confused).
Love the look and it has a quality/solid feet to it.
I followed extremerates youtube video super closely and bypassed taking apart the R2 and L2 triggers, because I wanted to use the stock buttons and triggers. For the paddles I had to pry them out of the original backplate.
The screen removal wasn’t extremely difficult, I just suggest that you go suuuuper slow and be patient with it. I inserted the pick on the bottom, left, and top sides of the screen and was able to be careful with the right side when the screen lifted off. I used a hair dryer and it worked perfectly.
The only thing I ran into was stripping one of the tiny screws when removing the skeleton from the front plate. All the screws in the deck were super soft.
Overall, I’m so happy with the result and it wasn’t as hard as I expected! Because I’m a novice and wanted to be careful, I’d say it took me 7 hours total. I used paper and tape to keep track of all the screws I took out so it was really easy putting the console back together. She’s beautiful!!!
After having a vinyl skin on my deck for a little while, I decided to take the plunge and buy the extremerate shell. I have zero experience with tear downs but I followed the tutorial on YouTube, pausing where necessary, which made the whole process a lot smoother.
The screen removal was the most stubborn element to take out of the original shell but I would strongly advise purchasing the iOpener kit from iFixit. Stick it in the microwave for a minute and then place it on each side for about 5 minutes – I did this whilst watching a 30 minute show on Netflix to pass the time! Using the iFixit suction tool, I was able to prise the screen off without using the pics. Make sure to use isopropyl to safely remove the adhesive left behind. After the screen removal it’s pretty much plain sailing from there.
I chose to keep the original buttons as a nice contrast to the translucent green; I will be putting some black extremerate back paddles on the rear too as I think that would look much slicker. The whole process probably took around 2.5 – 3 hoursif you like tinkering and enjoy projects that test your patience, the time will fly by as it did for me.
I’m really pleased with the end result, it feels nice to hold and the quality is fantastic. The fit is absolutely perfect and for the price of the kit, the value for money is second to none. My main problem was actually choosing the shell colour! I would definitely recommend this if you have the patience for such thingsI love a challenge so this was right up my street!
The Purple shell feels a lot less slick than their white shell, likely due to the coloring they used on it. I like the purple, it’s a lighter purple than Sony uses on their purple PS5 Controller.
Couldn’t decide on the best colour to go for but went with the white shell in the end.
Looks good but… if you have not stripped down devices before, this may be a little too complex for you.
The online video instructions are good, not sure why the white costs more than some of the other colours but, for the amount of design, effort and effor that has gone inyo the product , it is good value for money
I’ll start by saying I absolutely love extremerate’s products and have literally never had a problem with anything from them. Only this time the L2 button housing doesn’t seem to be big enough so I had to take a Dremel tool to open it up so the L2 button didn’t grind against the side of the shell. They still get 4 stars because EVERYTHING else was perfect.
Was quite easy to for their YouTube along the way and I am really happy with the outcome. 100% on the kit apart from the sharp guitar pick
I did cut myself whilst removing the screen so I’d be careful when you get to that part. The kit has everything you need to get you through it for a stylish steam deck and it looks fantastic
These shells look and feel amazing. They have a very soft touch to them. Installation is fairly easy if you have experience taking electronics apart. The most difficult step is the screen removal process. I highly recommend using plastic picks vs the metal one that comes in this kit.
Taking a DIY plunge with my handheld console was an experience in itself. The replacement faceplate and backplate lent a vibrant persona to the device. Although the installation called for a fair bit of know-how, the end result was pleasing. And that clear atomic purple look, simply loved it.
It feels great, looks fantastic and fit together arguably better than the stock shell. Mine creaked when the shell was pressed below the screen and this one didn’t, so clearly done something better than Valve to sort that out!
I did keep the original buttons though as it looks quite cheap going with all purple – but that’s just me.
The kit had everything you need to swap and Extreme Rate have a YouTube video that was really well done and easy to follow, so I’d recommend watching that like I did.
I can’t fault it and whilst this isn’t a reflection on the shell, it’s definitely not for the feint of heart. You take everything apart, including the screen (which I’d never done before) so I wouldnt do it as your first ever shell swap. If you do though, watch their video, take it slow and keep track of which screws go where so you don’t ruin any of the posts with the wrong screws.
My tip: I used several egg pots and scrap paper to say what they were – worked well!
Der Umbau ist jedoch nichts fr schwache Nerven – ich schraube viel, entwerfe selbst Platinen usw. Man darf sich auf ca. 4 Stunden Schrauberei einstellen. Das Steam Deck ist eine wirklich komplexe Konsole (hut ab an die Produktdesigner von Valve!) und man muss verdammt viele kleine Teile ausbauen – man zerlegt die Konsole hier 100% in die Einzelteile, da bleibt nichts mehr beisammen.
Meine Empfehlung: Man sollte neben den gelieferten Materialien noch einen einstellbaren Fhn oder besser eine Heiluft-Ltstation mit Temperaturregelung haben, um das Display und ein paar weitere verklebte Komponenten zu entfernen. Zudem ist etwas Reinigungsalkohol (IPA o..) fr die Klebereste am Display hilfreich. Eine Handvoll Gitarrenplektren machen das entfernen vom Display auch nochmal einfacher als nur das einzelne mitgelieferte Metallblttchen.
Unbedingt beachten: Ihr entfernt den Khler vom SoC des Steam Deck. Ihr solltet auch ein wenig neue Wrmeleitpaste haben um diese neu aufzutragen. Meine war schon arg zerbrselt und konnte nicht wiederverwendet werden, habe aber mein Steam Deck auch schon seit Launch. Mit sehr neuen Steam Decks ist die WLP evtl. noch flssig genug um neu verwendet zu werden.
Ich bin sehr zufrieden. 🙂