International Tool Company Professional Headlight

International Tool Company Professional Headlight Restoration Kit DIY Headlamp Brightener Car Care Repair kit Head Lense Clea


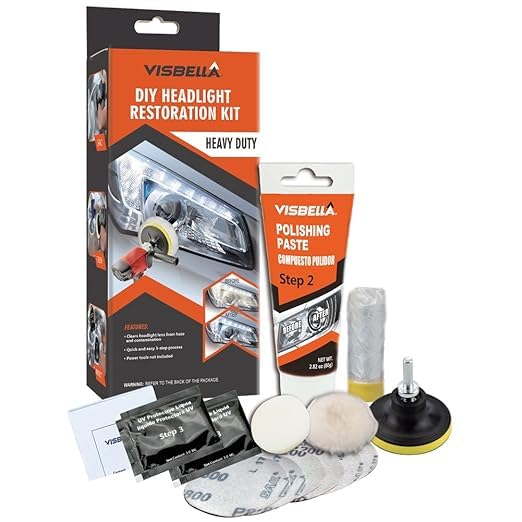
- Works on badly fogged and sunburned-yellowed headlight lenses. Work takes about half an hour or a bit more total using a hand drill and the supplied sanding-polishing attachment. Be sure you wet the sanding pads per instructions and take off the worst with the 800 grit, follow with the 1200 grit, then finish your sanding with the 2000 grit. The kit contains 2 discs of each grit, one for each lens.
- When you are wet sanding it would be great if you could have someone helping you and actually spraying water on your headlight while you are wet sanding.
- Work in a well-ventilated garage or outdoors, if the weather is going to be good for 24 hours after you finish. The UV protectant needs 24 hours of dry time to cure or have ultraviolet lights on hand to cure the final clear coat. A good idea to have personal protective equipment – gloves to protect hands for the polishing and UV coating portions of the job.
- Included is 1 pack polishing paste for each lens – once the polishing is done the lenses will be smooth and translucent (still look fogged but you can tell it’s worked when you wet the lens and can see no yellowing and it looks clear when wet.) Lenses will still look fogged (translucent but not clear) when dry, after the sanding and polishing, and applying the UV protectant will make them look clear.
- After cleaning off the polishing paste and drying the lenses apply the UV protectant carefully – it’s quite liquid and will run quickly down the lens, so I recommend substituting a small lint free cloth for the little sponge applicator (the orange one in the photo) to apply UV protectant. Your headlight lenses will look clear. It will need to dry for 24 hours.
- For details, please refer to the operation video and directions.
- Wonderful Aftersales Service: Our products have high quality, if you have any questions and problems about our products during use, we will reply to you within 24 hours. And we will provide the satisfaction solution.
| Weight: | 100 g |
| Dimensions: | 20 x 10 x 7 cm; 100 Grams |
| Brand: | ITC International Tool Company |
| Model: | HG- |
| Manufacture: | ITC International Tool Company |
| Dimensions: | 20 x 10 x 7 cm; 100 Grams |
This stuff did a great job! I honestly had low expectations, but the sandpaper held up as long as needed.
A couple of hints from my experience.
#1 – if you are using a drill to do this, make sure to keep the sandpaper wet or it will burn the lens.
#2 be careful with the polish. Mine had separated so while I was squeezing the tube to get the thick goo out the other side popped and the liquid came out the back. Then I shook it up real good and put a clothes pin on the end then the paste came out right.
Other than that this stuff did a great job and if I would have taken my time it would have looked even better. This is not the fault of the product this was totally me not taking my time.
Our 12 year old SUVs headlights have gotten more dim over time, clearly because the plastic lens covering has gotten fogger and has scratches. A replacement of the headlight bulbs did not correct the problem because of that. This was my first time trying a kit like this, and it worked quite well. The kit is fairly complete. I really liked that it included the masking tape with the attached plastic for additional coverage. It did a good job staying in place and covering the car, though I will point out that I could have used just a few more inches, as I did run out when finishing masking the second headlight, which was fine, and I just used a few inches of regular masking tape to mask the remaining a few inches. The headlights are relatively wide, and required more masking tape than would be needed for a smaller set of headlights.
The instructions are clear, having you first wash the headlights, and then sand first with the more course (lower number) grit sandpaper, then the medium, and then the most fine sandpaper. I agree that this is much easier using a power tool, and the included drill bit attachment worked quite well, with a Velcro top that did a great job of holding the sandpaper and polishing pad in place. After the sandpaper, you then use the soft polishing pad with the polishing compound paste to further polish the lenses, followed by the finishing liquid. The polishing paste seemed liquidy at first, but after a quick shake of the tube, then it came out as a thicker paste, so while the instructions did not mention shaking it, I think it may be a good idea. Also, the instructions do say to wet the sandpaper, and the sandpaper does hold up quite well being wet. I did accidentally start the process without wetting the sandpaper on the first headlight, but it came out great anyway. I do think it makes sense to wet the sandpaper as the instruction say, and I kept a little squirt bottle with water handy to add water as I went along.
Interestingly, the first headlight I treated came out perfect, and the second one seemed a little hazy when I was done, so I did repeat some of the sanding steps with the same grit sandpaper, as I already had some at home. That headlight was in worse shape than the other, so perhaps I needed to sand it longer the first time around.
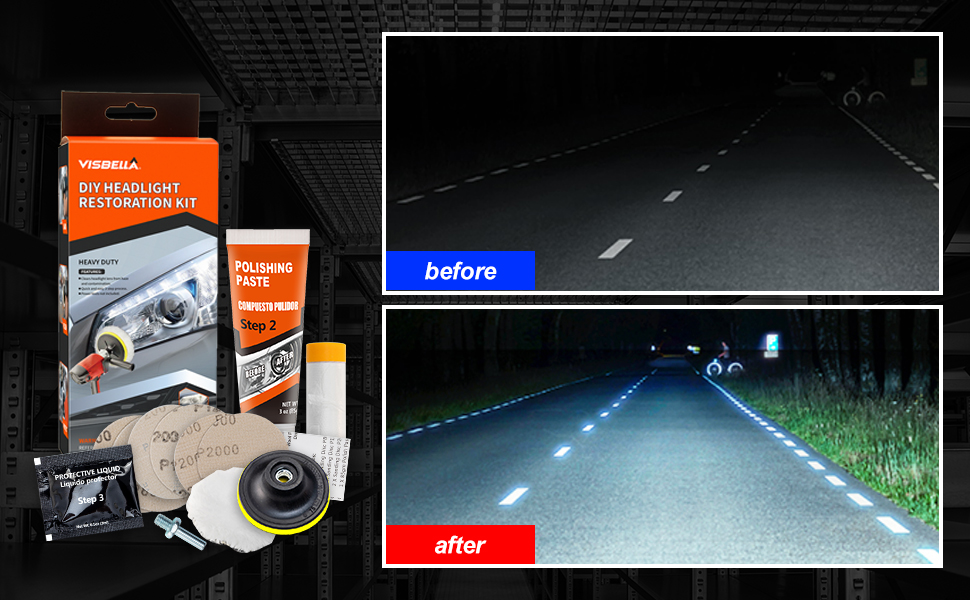
The entire process took about an hour, and it really came out great. I am attaching some photos of the headlight that started out in worse condition than the other. One of the photos shows it masked off, and that is a picture of the headlight before treatment, and the other photo without the masking tape in place is the finished product. Even if you cannot appreciate too much of a difference, the most important thing is that it clearly made the headlights shine much brighter. The headlights went from casting a pretty dim light to now being quite bright, so the difference is dramatic, and we are quite happy with the improvement. I hope some of this information is helpful for you. We are very pleased with the kit and the outcome and feel quite comfortable recommending it.
I’ve got an older car and the headlights go misty every couple of years. I’ve used solutions in the past to fix the problem, which normally rely on a fair bit of sanding. This was the first time I’ve used a complete kit and it was much, much easier for me.
Everything is included that you could possibly need, right down to the masking tape. I only needed to repair one headlight, that took me about 25 minutes as I took my time to be very careful. Masking was probably the longest part of that. Having the drill attachment and three varying grades of sanding disk meant this was a far better job than my previous attempts and the result is perfect.
Cannot fault any part of this, a great bit of kit.
A good kit with everything needed although there are more comprehensive versions of this type of kit with more components included.
It does the job well and I have restored headlight lenses quite successfully with it.
diy headlight restoration kit, to be honest i opened it up and thought what the hell can i live with foggy headlights. This kit you do in 3 stages sand polish and then protect, you will need a drill for this and everything is in the pack it is a heavy duty kit so if you lights are very bad well worth trying with this product.
I recently updated my halogen bulbs to new LED ones and it helped me notice that the headlamps had a yellowing cast to them
Rather than fork out for brand new ones I thought I’d give this a try
A couple of things I’d advise(even if they may be obvious)
-Make sure to mask everything off properly. Don’t leave any tiny gaps around the light
-use a drill driver as doing all that sanding etc sure will need a lot of elbow grease
-get someone to help with pouring the water as you use the discs
I was worried how murky the lenses were after doing it. Until I put on the polish and it cleared them up
Now my LED lights have a crispness to them
Btw, this isn’t going to be a miracle cure if you’ve got extremely yellowed lamps
But it does make a difference