esa 05225-00014-02 Crack Cover, 10m x 50mm Single
esa 05225-00014-02 Crack Cover, 10m x 50mm Single
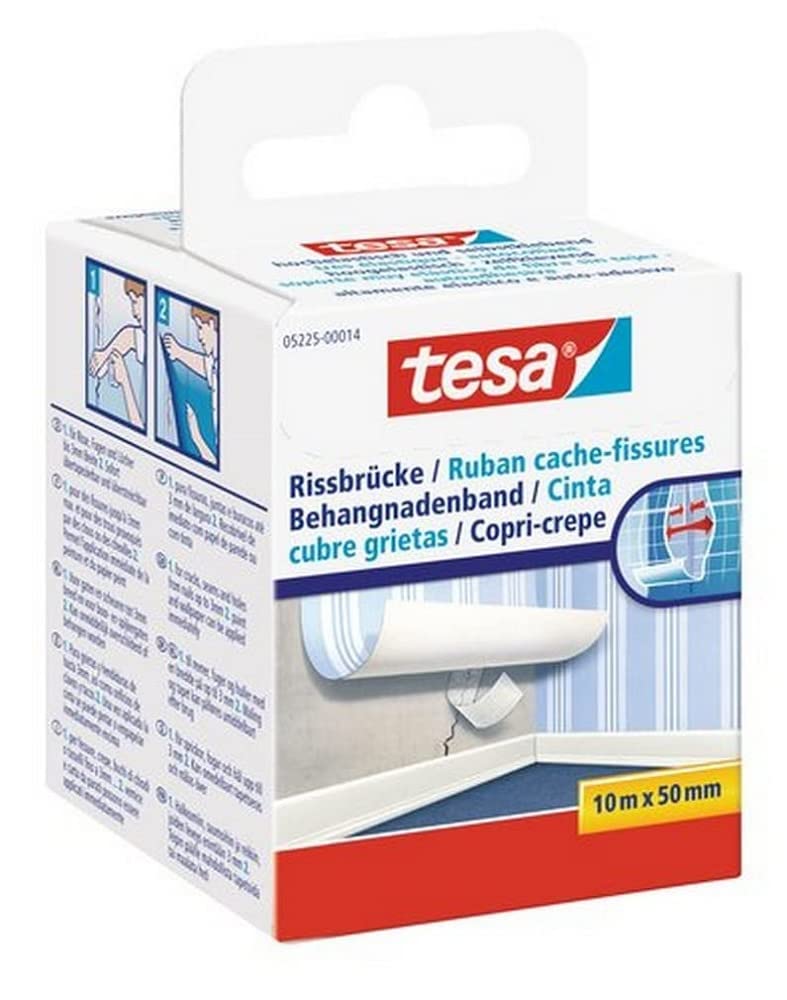
tesa Crack Repair Tape
tesa Crack Repair Tape is a highly thin yet flexible fleece tape especially designed for wall and ceiling crack repair.
Ideal for drywall crack repair and serves to fix all kinds of imperfections of the surface of a wall. Use this extra thin self-adhesive tape to cover cracks, seams and holes during surface preperation.
This will keep wallpapers from tearing and prevent a coat of paint from showing unsightly cracks shortly after it was applied.
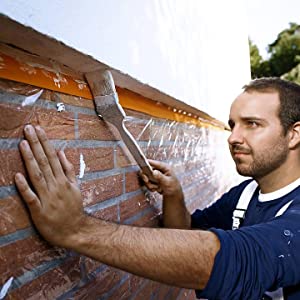
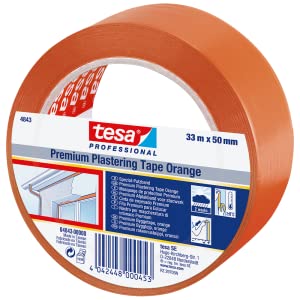
tesa Rough Surface Masking Tape
tesa Rough Surfaces Masking Tape won’t let you down at any time of year. The sturdy tape will stick reliably even when it’s cold.
This means it provides optimum protection for painting, stucco and plastering work.
The plastering masking tape protects the surfaces of sensitive profiles, frames and facing from soiling or damage through plastering material or tools.
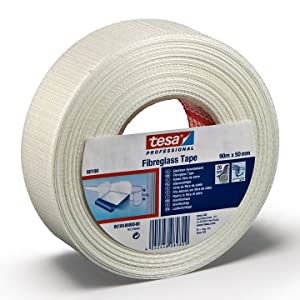
tesa Fibreglass Scrim Tape
tesa 60100 self-adhesive fibreglass tape features the latest developments in joint tape technology.
With its very strong and flat fibreglass mesh, tesa 60100 offers durable and long lasting drywall/plaster board joints.
The excellent adhesion and the very good tensile strength allow one-time application and smooth finished joints.
| Weight: | 50 g |
| Size: | 10m x 50mm Single |
| Dimensions: | 24 x 15 x 2 cm; 50 Grams |
| Model: | 05225-00014-02 |
| Part: | 05225-00014-02 |
| Pack Quantity: | 1 |
| Batteries Required: | No |
| Batteries Included: | No |
| Manufacture: | tesa |
| Dimensions: | 24 x 15 x 2 cm; 50 Grams |
| Quantity: | 1 |
| Size: | 10m x 50mm Single |
The Paint Warrior used this tape in one of his videos and it has proved to do the job brilliantly. No more cracks showing through – stick the tape on to allow for slight movement and then I used Ronseal Smooth Finish Filler, sanded it down and painted – perfect job.
I used this in a bathroom where two different surfaces met (a plaster wall and a wooden area). Despite the bathroom environment and the fact that two different surfaces were involved, the tape covered the crack and has not moved or shown any sign that it is there, for well over three years. It was painted over with emulsion. There will always be detractors for anything, but for a relatively small cost, I would recommend you give it a try.
Ceiling cracks
Worked well but takes a bit of work to get a perfect finish.
We had some hairline cracks that kept appearing. Applied the tape followed by two coats of Matt emulsion. Then you need to lightly fill and feather the edges using a fine EASY SAND filler. I used Toupret. Allow to fully dry and lightly sand (a bit messy on a ceiling) then apply finish coats. No sign of the tape.
The tape wouldn’t hold back a big crack with movement but appears to be the only solution per those pesky cracks
Great cover of those annoying cracks
I live in a very old house – new plaster board and old stone are sometimes not a good mix – this product stops the cracks re-opening and looking unsightly – excellent adhesion and coverage.
I’ve not suffered the visibility issues others have. But did follow the tips of another reviewer.
1. Clean the surface, it should stick just fine. I’ve had no issues whatsoever
2. Apply the tape
3. Paint it to seal it
4. Use a fine filler (I used polyfilla) and carefully blend at the edges of the tape
5. Gently sand away from the tape
6. Repaint – all done!
I used Earthborne Clay Paint (as we have lime plaster). It’s a very thick paint. One coat largely blended and hid the tape using the above steps. A second coat hid it completely to the point I could tell it was there. I’m very happy with the tape from a decorating perspective. Although wish it was cheaper.
Suitable for covering cracks.
This worked well on cracks on beams and on the ceiling but on the ceiling you can still see it a bit if you study it. If someone else who doesn’t know it is there looks, they probably won’t notice it.
Does what it says
It was bought to cover cracks on a plywood surface and it stick and was paintable. Yes if you look for it you can see it but, it’s one of those things like central heating pipes running up a wall that you subliminally block out.
Eady to use and good resul
Worked perfectly. Stuck to wall to cover crack in wall / ceiling joint corner. Painted over easily and barely visible. If in middle of wall it may show and need a skim of plaster/ filler.
Easy to apply and paint ove
Used this to cover the joins on a couple of access hatches that should only ever be used in an emergency (they provide access to some pipe joins inside a wall). Easy to use, still identifiable if I need to cut them open, but great when painted over as they help smooth over the look of the wall.
In the picture you can almost see the outline of one of the hatches I covered ove
I’m a plasterer by trade and have tried many methods for those pesky hairline cracks. I can honestly say, this is the first method I truly believe will last, as rather than filling the crack, you effectively cover it. The make up of the tape should allow a little movement without further cracking.
There’s a but! Simply painting the tape will not hide it. I did paint the tape first, partially as a curiosity and partly to seal it before the inevitable filler. This will help to stop the tape fraying at the edges when you fill. No matter how thick your paint or how many coats, the tape will still be visible if you know its there.
So the method, easily achievable for any diyer with a bit of patience. Larger cracks should be pre filled and allowed to dry. Apply tape, do not overlap! Paint the tape to seal. Use a wide filling knife (at least 6 inch) and easifill filler. This is important, if not easifill use an easy to sand powder filler. Not polyfiller, any ready mixed filler etc. You have a lot of sanding to do and easifill sands like a dream and will give you the best finish. Go over the tape with the mixed filler, wider the better. When dry, sand all over and focus on feathering in the edges. You may need to do this 2-3 times, but trust me it will be worth it. The repair will be invisible with a little patience and those cracks should be gone for good.
The good news is that it covered the wall crack which went from floor to ceiling.
It will however need at least three coats of paint to cover it as it can still be seen after two coats.
I am using Dulux – Ivory Lace cream paint which I am applying myself and therefore I will get the standard DIY finish.
Applying this tape to professionally painted walls may be more difficult as the finish will be better than DIY painted walls and therefore the tape may be more difficult to hide.
Easy to apply, but not much on a roll and pretty expensive. It’s very, very thin, but doesn’t completely disappear. You will be able to make out the edges of the tape after it’s been painted on if you look close, but invisible from a distance. Much easier than trying to fill cracks with plaster.
Good if used with care
Yes this will show edges in certain lights but if you take a bit more time and tear the edge before applying it works much better and is almost invisible
Does its job
I wasn’t sure about this when I first used it and wallpapered over it as in certain lights I could still see it’s outline, but having lived with it for a month I can see that it has done it’s job. A long settlement crack that had been sanded and filled several times has now all but disappeared, yes if I look hard enough I can see the tapes outline, but not enough to worry about.