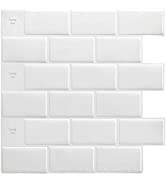
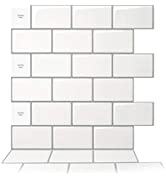
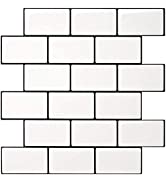
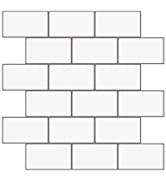
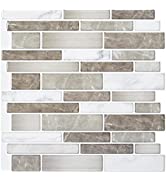
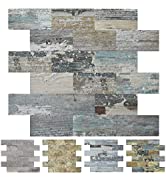
Art3d 10-Sheet Peel and Stick Backsplash, 12 in. x 12 in
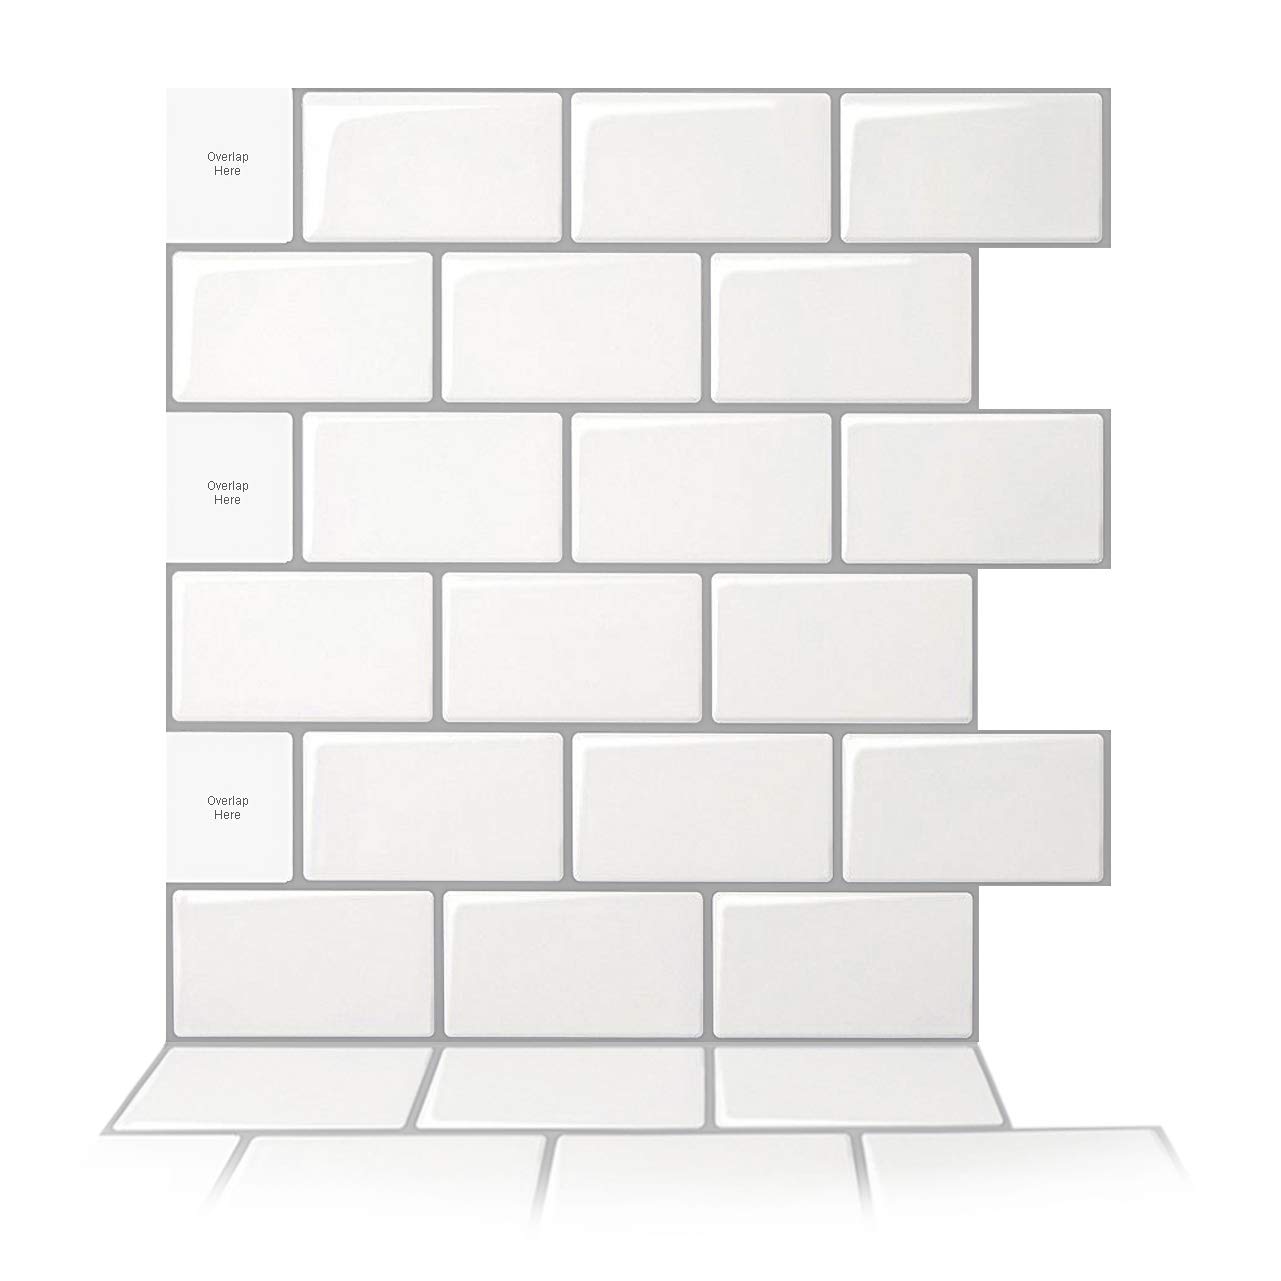
Art3d 10-Sheet Peel and Stick Backsplash, 12 in. x 12 in. Subway 3D Wall Panels, Mono White with Gray Grout (A17048)
From the brand
Stick On Tiles
| Weight: | 113 g |
| Size: | 30*30cm |
| Dimensions: | 30.48 x 30.48 x 0.25 cm; 113.4 Grams |
| Model: | A17048 |
| Part: | A17048 |
| Colour: | White |
| Pack Quantity: | 10 |
| Batteries Required: | No |
| Batteries Included: | No |
| Manufacture: | Art3d |
| Dimensions: | 30.48 x 30.48 x 0.25 cm; 113.4 Grams |
| Quantity: | 10 |
| Size: | 30*30cm |
We all purchase a majority of our needs at Amazon. I must say this is a great quality peel and stick backsplash! I bought a few boxes. It adds such a sheik and modern look in the kitchen. It's super easy to apply. I also added it in the bathroom and it stayed on for a while, but it does peel off after time due to the steam on the walls. I placed them on the floor to see what it would look like and it looked really nice. The only thing is when cleaning bathroom floor the water that seeps in between the wall paper will create bacteria; so I don't recommend using it for the bathroom floor. Other than that you won't go wrong buying these. This is very cost efficient, and you'll still get the desired outcome.
We all purchase a majority of our needs at Amazon. I must say this is a great quality peel and stick backsplash! I bought a few boxes. It adds such a sheik and modern look in the kitchen. It’s super easy to apply. I also added it in the bathroom and it stayed on for a while, but it does peel off after time due to the steam on the walls. I placed them on the floor to see what it would look like and it looked really nice. The only thing is when cleaning bathroom floor the water that seeps in between the wall paper will create bacteria; so I don’t recommend using it for the bathroom floor. Other than that you won’t go wrong buying these. This is very cost efficient, and you’ll still get the desired outcome.
Faeces proof tiles!
I can’t remember the last time I laughed so hard watching an ad.
Wonderful clever cut to size tiles which stick down. Looks like a bathroom or kitchen setting.
But whoever decided that to demonstrate the ease of wiping the surface clean, with a suspect, brown substance, well that was what told me, when I get my new house, I need this stuff for those explosive moments we all face from time to time, knowing with immense confidence, that specifically brown liquid/solid substances will always simply wipe off should your finger have slipped through.
Excellent product, I do not own it, but based on the ad and it’s candid willingness to show the real issues tiles can face in this mad world, I would happily recommend this to anyone with 1ply in their lives. A+++
esthétique
j’avais encore besoin d’acheter d’autres lots mais je m’aperois que le prix augmenter de 1 E, on se demande bien pourquoi ? Ce produit tant dj relativement cher, je ne comprends pas cette augmentation. J. Lefevre
It changed the look of our fireplace. Great product for DIY. It was very easy to cut and place over the existing tile. It was placed 1 year ago and still looks new. No need to do anything to keep it looking clean and scratch free. It has a good cushion texture. It looks great in pictures. It has a clean finish. Planning to buy different designs for more projects.
I didnt want to install real tile because its thick and takes long cutting the pieces around electrical plugs ,that is a hard job that requires special tools , and its expensive. This backsplash was a fast and inexpensive option for my kitchenette mini kitchen. And the tiles look real because they are glossy and 3D a little bit but not too much I actually like them this thin because it allowed me to cut it with sisors and especially for those electricity plugs you need to cut around so the plug fits back on or cut around ,so too thick wouldnt have allowed me that. tip start right to left or turn it around and do left to right. I really liked this backsplash I plan on buying again for my bathroom.
These were mostly pretty easy to apply and they look fairly good once finished. I am disappointed at how easily these things tear and ended up having to buy an entire full set of tiles just to make up for the ones that were damaged when trying to pull the backing off. This project should have taken 30 tiles, but now I have way too many left over because I just needed two more of them at the end. Of course, they don’t sell them in smaller sets because they want you to pay more money.
I’ve had loads of compliments about these but OH MY GOSH did it take me some time to get them up right they are fiddly – they adhesive is very strong so once they’re against the wall they’re very hard to remove without damaging either the wall paint or the tile itself. The material of the grouting is very fragile and tears easily, so you need to be very careful with it. The tiles cut easily enough, so they can be put around sockets and cut to the shape of the area, but you have to measure very carefully and then stick them on even more carefully! With a bit of time and effort though they look great and many people have said they thought they were real tiles. I’m not a DIY expert but with some careful planning I got these looking really good. They are a bit expensive but worth it for a good looking (and cheap by comparison to real tiles) splashback.
Lo compr para poner el frente de la cocina y la verdad es que el resultado es estupendo.
No necesitas ser un experto para colocarlo, pero si paciencia y un poco de precisin, porque una vez que se pega no hay posibilidad de correccin.
Llevan puestos como un mes ms o menos y de momento todo est igual de pegado. Los que estn junto a la placa los limpio todos los das por las salpicaduras y estn perfectos.
La nica pega es que dentro del mismo lote venan algunos con la junta algo ms oscura que el resto y se nota un poco una vez puestos.
I liked the tile effect but you need to be careful when placing them for fixing, once they come in contact with the surface! They are stuck. Oh, and be careful when peeling the back and front from the tiles or they will split along the joints.
Ok
Due to the surface I was sticking them on, they wouldn’t stick at the top edge. I have used other types which worked but they were more flexible. These were thicker and would have to be on very flat surface. Just unlucky this time.
Just finished installing these as part of our 1978 caravan reno. These are very well made vinyl tiles. They went up really fast once I had figured out how to line things up with the first 2-3 sheets The glue on the back is really strong and stuck to the plywood board I mounted it onto easily, the tiles are thick, but also have enough give to get you around imperfections and easy to cut to get around corners etc. Really recommend these.
These are amazing. Ordered 14 packets and did the whole bathroom. 2 plumbers came to do some work and couldn’t believe these were stickers as they look so real.
Would have happily given 5 stars if the pack included a small roll of tape the colour of the grout (to fill any gaps and fix imperfections).
Would recommend
Would buy again at right price
Great but needed another pack and price rose dramatically so buy what you need first time . Don’t be a fool like me and buy off a different batch and waste money
These look way better than I anticipated and really brightened my kitchen. As a renter, I used these stick up tiles over top of the old and dark kitchen backsplash.
SAVE YOUR SCRAPS! Is the best tip I can give. I ended up using exactly 3 packs because I was able to use my scraps at the end to cover remaining small spots. My counter wasn’t level, so I caulked the seam between the counter and the tiles with white caulk, and also did the the same in the corner so I didn’t have to worry about precision cuts.
These stick like they're on a mission!
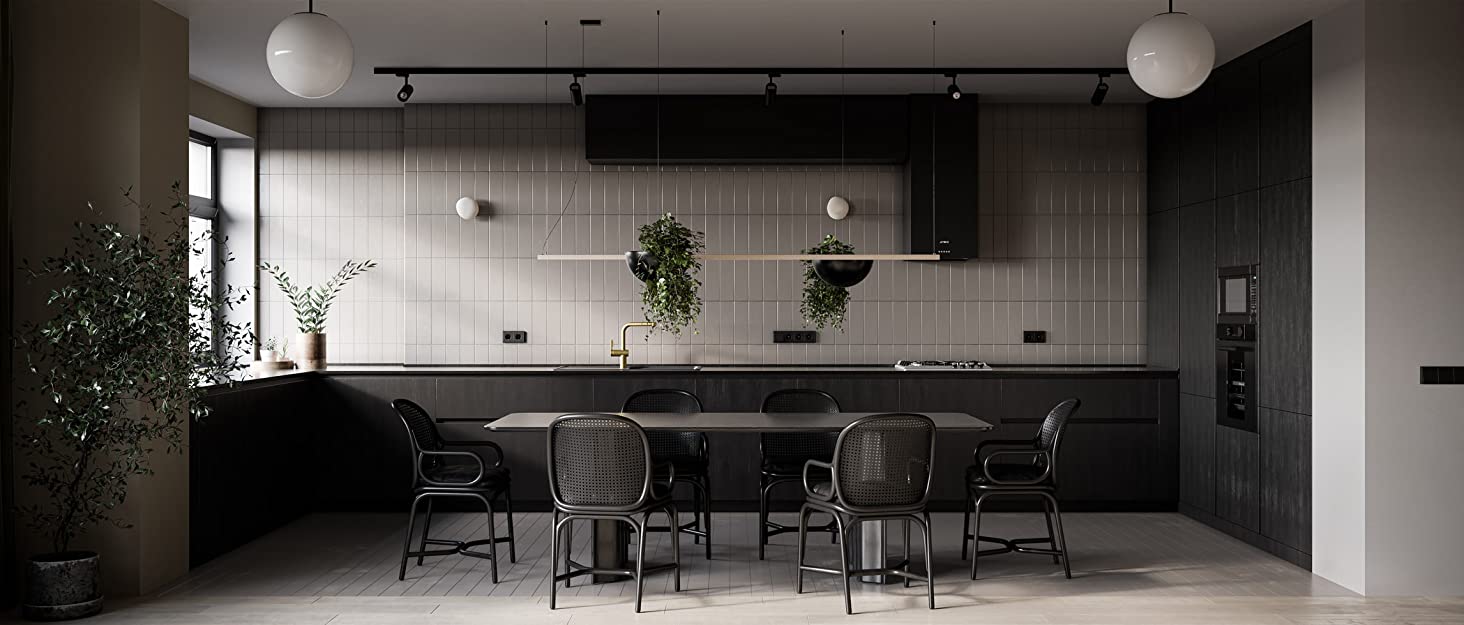
We are in the midst of a “mini-remodel” on the kitchen in our house that we bought 6 months ago. Being a 1952 build, and much of it original means there is a LONG list of projects needing attention, all clamoring to be at the top of the list. The kitchen won’t get a complete remodel but it is getting a few new cabinets (added to what was already there) and a backsplash – since it had just bare painted walls (in what I like to call “institutional green”). You can still see some of that “lovely” green on the window trim in my pictures. While I’d like to eventually do real tile, the ultimate remodel of the kitchen will include an undermount apron sink so installing tile now, while our sink has an integrated backsplash, would be a waste of materials. I wanted something quick, reasonably priced and easy to install without any special tools.
These tiles fit the bill perfectly.
Anyone who claims these don’t stick very well must be installing on a surface which wasn’t on the list of approved placements – like a textured wall – READ the listing it even shows textured walls as an inappropriate surface! My walls were incredibly smooth, so they were a near perfect surface. If you have textured walls I’d recommend doing a skim coat of drywall mud (or two or three) until your surface is smooth. Then primer them. Be sure you’re allowing the recommended 21 days between painting and installing the tiles so you get a good secure installation. If you don’t need to smooth out your walls, get a bottle of TSP cleaner (available at the big box home improvement stores and most local hardware stores). Mix up a solution in hot water, don your rubber gloves and give your walls a good wipe down. This is really important in a kitchen where cooking causes grease and smoke to coat walls.
I learned a few very valuable lessons while installing these which I want to share –
1. Don’t start with the top or bottom row of tiles. Instead, mark level lines in your area and install a full tile in the Middle of the space. This will insure that your tiles are 100% level. Also I think if I’d started with my first course being level with the top of my sink’s backsplash, I would have had a much easier time of it. That little 1 3/4″ strip between the window trim and the top of that backsplash was a real PITA. Work your way to each edge from this middle piece and then do your top and bottom rows to fill in.
2. If you have any tricky areas – such as outlets or a curved integrated backsplash edge (I had both in the span of about 1 1/2 tiles) – create a template from paper, turn it upside down and mark the back of your tiles accordingly. I did NOT do this around my outlets and now I have a spot with wrinkly looking “grout lines”. It’s mostly hidden behind our compost bin, but I know it’s there and my brain has not shut up about how I might remedy the appearance. This issue was solely installer error (I was being lazy) so I cannot detract from my 5-star review for this.
3. Take your time. No, seriously, TAKE. YOUR. TIME. Do not attempt to rush this installation, and for God’s sake, do not try to carry on a conversation while you’re measuring. I lost at least one tile to this. Measure 3 or 4 times, hold your piece up, measure again, then cut. While cutting this is easy, once it’s cut it’s useless anywhere else unless you need a smaller piece. Dry fit these several times (without removing the backing) to make sure all the edges line up and the “grout lines” overlap properly. I spent about 6 hours doing my backsplash. I could have done it quicker, but I knew these had to be as close to perfect as possible or I’d lose my mind (hello, perfectionist here!!).
4. Do not, I repeat DO NOT, take the backing off completely unless you’re dealing with a very small piece (palm size or smaller). That’s another reason that I have wrinkled grout lines in one area.
5. Make sure your tiles are positioned properly before you place them – when I said I didn’t experience any issue with sticking, I wasn’t kidding – I had one that I tried to pull back up and it actually took up the old surface of the drywall. Fortunately I saw this and immediately stopped.
6. Make sure your surface is free of any bumps – old nail holes for example. They don’t need to be filled, but you want to make sure there’s no ridge around the hole or this will show through your new tiles.
7. Cutting tip – mark your tiles with a fine point sharpie (I tried several other marker types and these really to work best). Mark on the back and have a scrap piece of wood available to cut. A razor knife works best unless you have a tool already to cut very straight lines. A good utility knife with a replaceable razor blade cutting edge is your friend. I found that I could cut a straighter line free hand than trying to use a straight edge – you may not find this but figure out what works for you. These tiles can be a bit slippery when cutting and that’s how I figured out I could cut free hand better – I wasn’t trying to hold my straight edge to make the cut straight. When I did that, the tile tried to scoot around under it.
Pros – affordable option to real tile, looks like tile from a distance (won’t stand up to the touch test though). Easy to cut to size, adheres really well.
Cons – the learning curve can be a bit difficult at first – hopefully my tips will help someone else and make their installation easier. These are STUCK on once you place them so the old “measure twice cut once” rule really applies here.
I would definitely recommend these to anyone who wants a quick upgrade – or a temporary fix short term like we did. I’m going to also see how these stand up over time because there’s a spot in our bathroom where I think they’d be a great addition.