Keter Manor Pent Outdoor Garden Storage Shed, Beige/Brown, 6
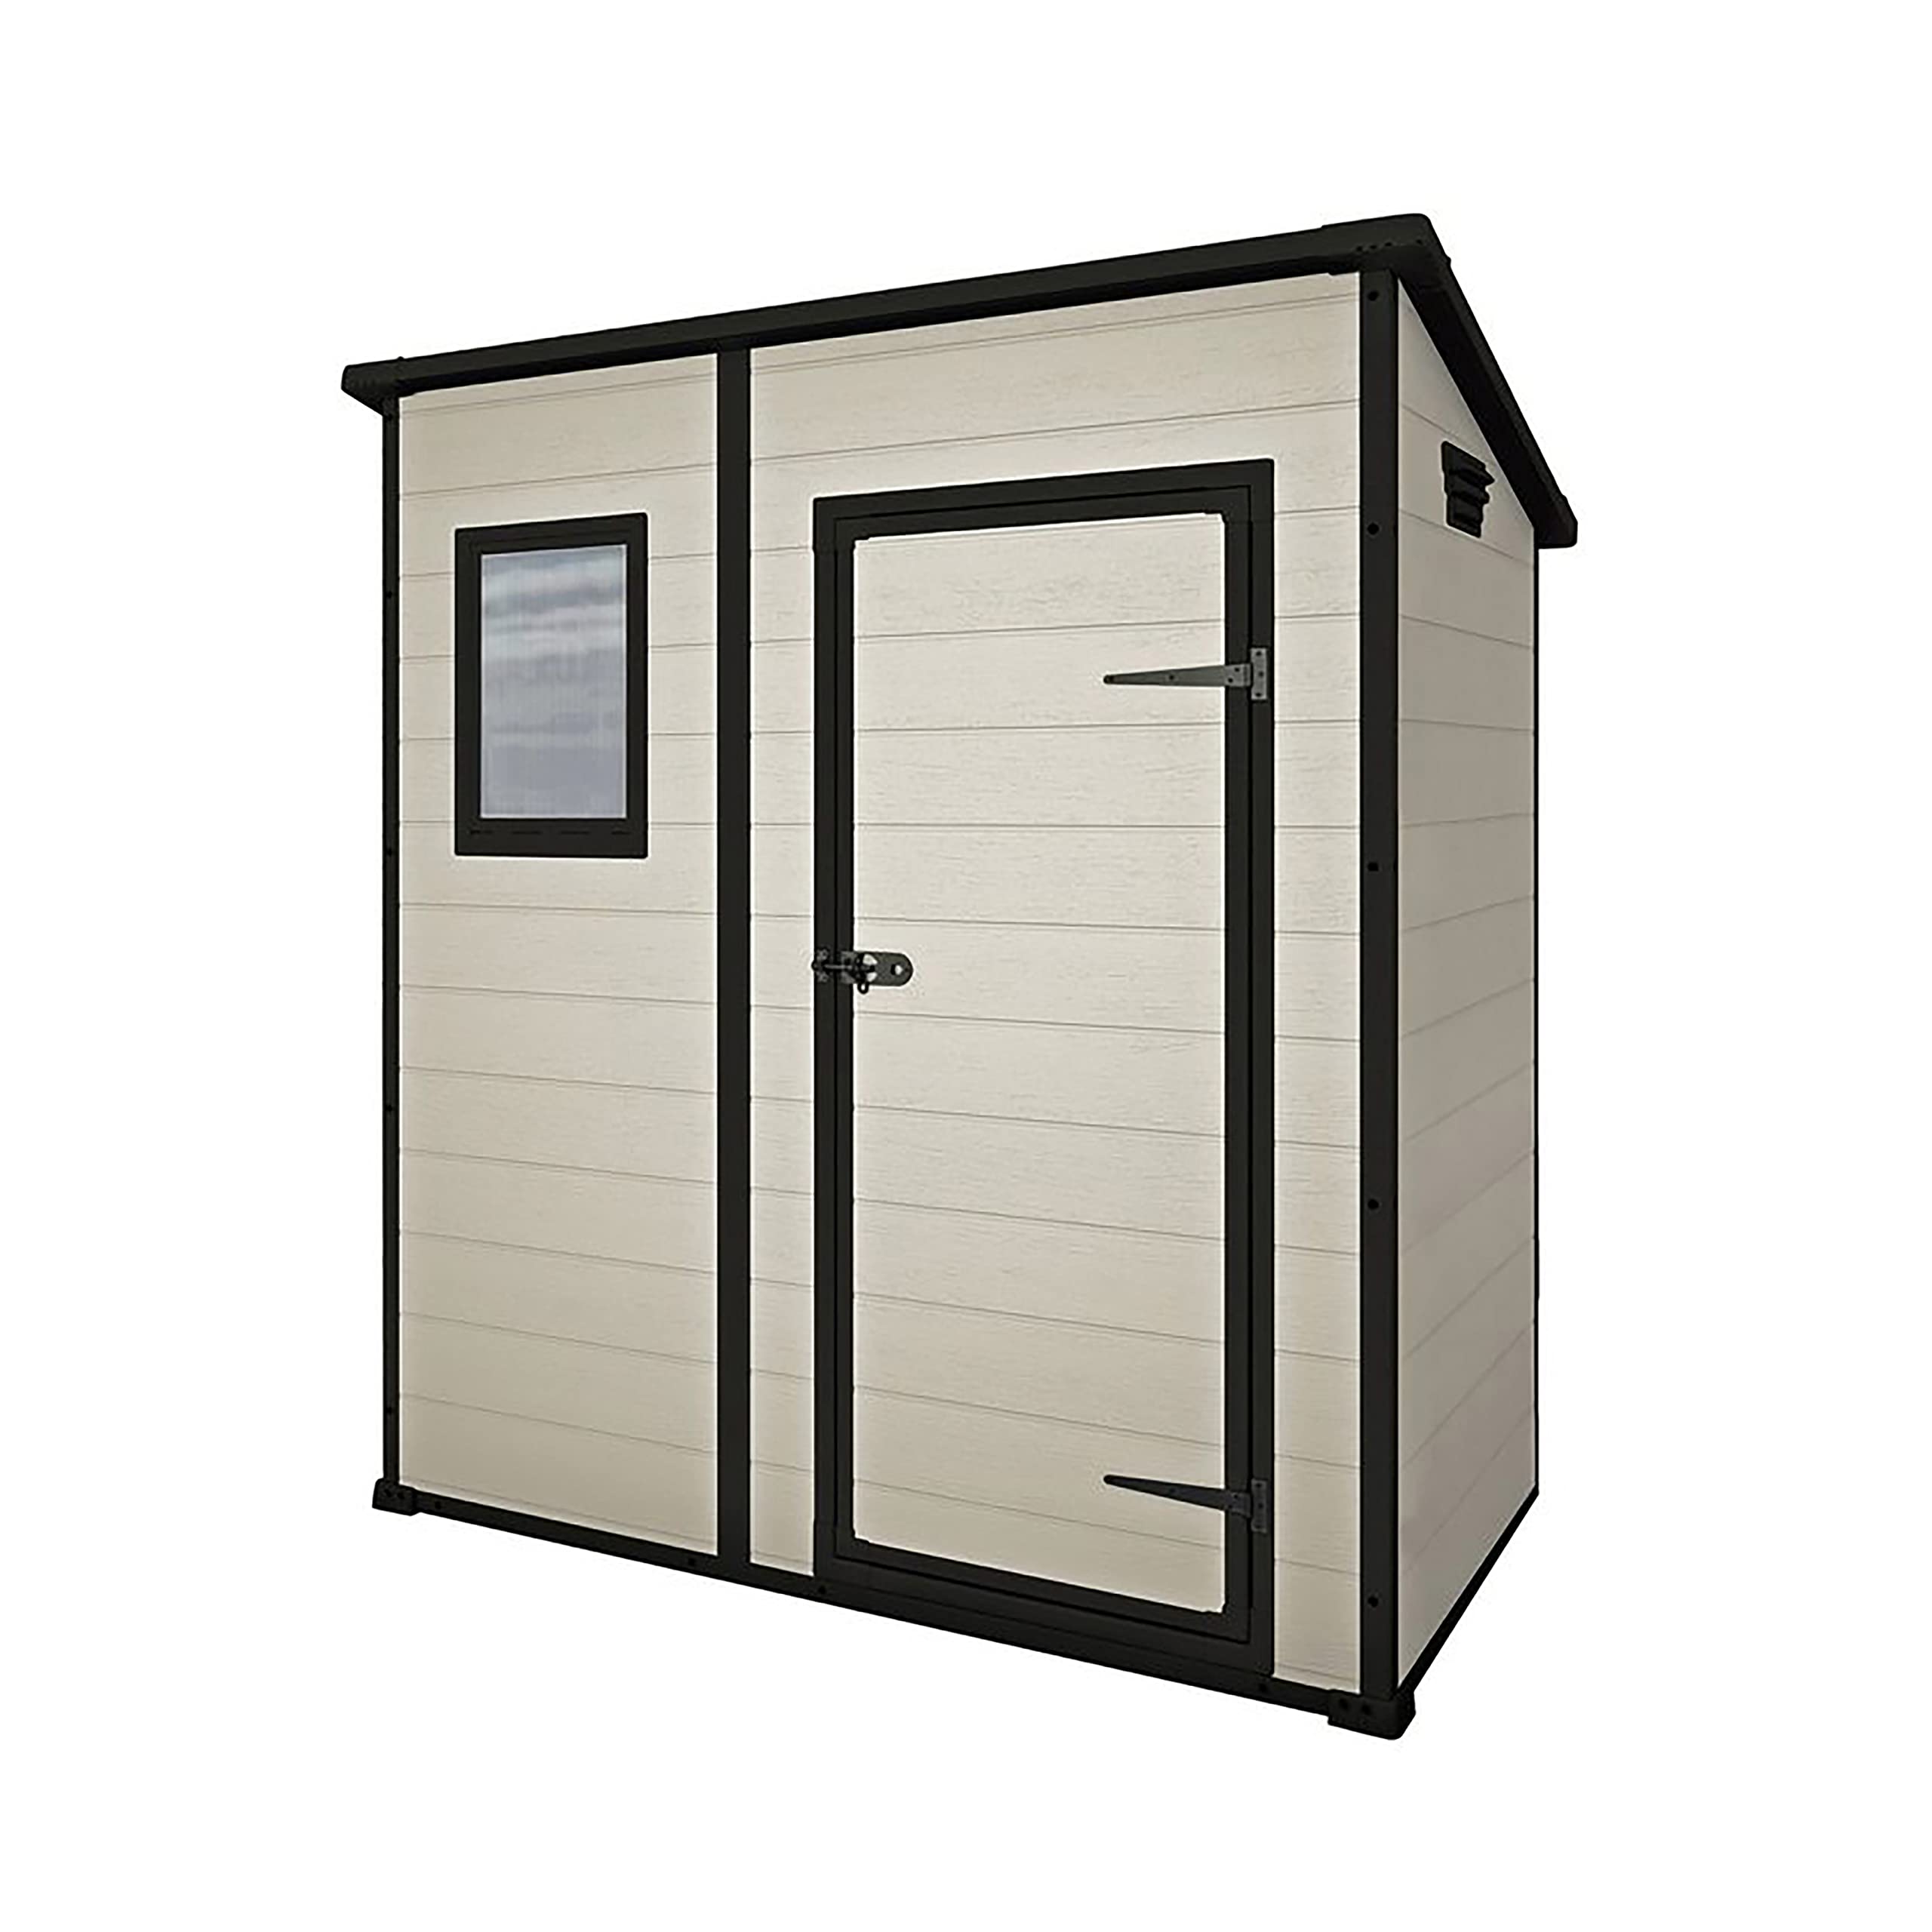
Keter Manor Pent Outdoor Garden Storage Shed, Beige/Brown, 6 x 4 ft 219732

| Dimensions: | 111.1 x 184 x 200.5 cm; 45.8 Kilograms |
| Model: | 229790 |
| Part: | 219732 |
| Manufacture: | Keter |
| Dimensions: | 111.1 x 184 x 200.5 cm; 45.8 Kilograms |
This is our 2nd keter shed. They are great – stay clean and simple to maintain. 2 people needed to assemble. Instructions are good but the roof is really tricky to get in place but it can be done with patience.
Excellent Little Shed
Clear concise instructions, this is definitely a 2 man job but not beyond a competent DIY’er.
Trickiest part as others have said is putting the roof on but the handy included spatula is a godsend.
Complete assembly from unpacking to storing garden equipment took myself and my son 4 and a half hours.
I would thoroughly recommend this shed.
Mums new shed
Took hubby and me roughly 6hrs to build up the shed, some of the pieces were harder to put together than others especially the roof, but all in all its a pretty good shed, no maintenance, and enough storage for odds and ends, garden equipment, paints and step ladders, we’re in the process of putting wooden latts for hooks to hang small items
Great shed but not 6x4
Went together fast with just my husband building it. Looks good, seems sturdy enough but it is not even close to 6ft by 4ft, I understand it won’t be exactly those measurements but the external measurements are 3ft 3 ( so you’d assume they’d call that 3ft) by 5ft 8.
Actually suits us to be a little smaller with where we’ve put it but it’s just worth knowing.
Sturdy but ….
I have a few Keter storage sheds in varying size. They are really robust. The negative side of this product is getting the roof on was super difficult. Also the holes are not pre drilled. This makes starting a screw hole is really difficult, I do have very weak wrists so I’d recommend using a tiny drill bit to give you a head start.
Another thing to note, the area where we assembled this was super flat however unbeknown to me it was a couple of ml out. This impacted massively. I did have a few gaps around Where the floor joins are which I’ll sort with a bit of guttering silicone run
Round the edge.
Fantastic Keter shed
So impressed with the quality of this 6×4 shed. We used the delivery and assembly extra and it was worth every penny. The men were knowledgeable and efficient. They took away all of the packaging too. Would definitely recommend
Very sturdy
Got this to replace an old wooden shed. It takes a little bit of time to build but it is a great little shed. It seems like it will weather better than a wooden one too.
We bought this shed to eliminate the need for a storage unit when moving from City Centre to a new house. It was delivered promptly and in good order – I had seen the reviews mentioning many damaged parts. We didn’t experience any of that. For the most parts the instructions were helpful with a few exceptions:
1. The roof is a total pain to put on, that process does need to be rethought. For us it was easiest to start in the back, get those corners on, and then work forward. The shed is not square until that point, so keep some of the high density cardboard to hammer against. Have a mallet handy.
2. The door assembly require you to screw self drilling screws through the metal rails. Have a power drill that plugs in handy to do this. It was too much for my lightweight battery powered screwdriver – which stopped retaining a charge halfway through. I got it assembled at the cost of three blisters on my hand.
3. The door hinges don’t line up exactly with the pre drilled holes in the door frame and the two screws in the long part of the hinge do not screw into the plastic inserts that you put in the door when assembling it. My recommendation – Only start the screws in the hinges on the door, and then align it with the holes on the door frame. That gives you plenty of room to wiggle it and get the best alignment. Then when it’s all started, shim the door on the bottom a little and tighten them all up.
Other than that its perfectly fine for what I need. I did read some reviews about the floor feeling flimsy – It does feel that way, but its a plastic garden shed, my expectations weren’t that high. It’s easy enough the way the shed is constricted to use your own floor. The plastic is fine for me storing a few boxes and lawn tools. I also had some people comment on the “security aspect”. Locks keep honest people out, anyone that interested in my 90 mower could cut through this thing with a utility knife. If I was storing anything much more valuable – I’d get a metal building or a wood one. Again, Expectations – this is a plastic storage building.
Good value for the money, easy to assemble, Could do with some more predrilled holes in the metal parts.
Good size
This shed is the perfect size. I can get all my gardening tools and mower in and room to spare. It was easy to put up with two people but I does need a completely flat base – I realised a slightly uneven crazy paved site is not the best! It is sturdy and light but very stable.
This is the second Keter shed we have. I decided to have a go and build it myself. Luckily it was a warm day. As others have noted this is good, especially for fitting the roof!
Building this on your own can be problematic. Especially as you start building and screwing the parts together. You need to support the sections, hold the screw and drill all at the same time. With only two arms, not possible. What I did, was that for every fixing I made a hole using a bradawl. That made screwing parts together much simpler and possible!
Now that roof! Because the weather was warm, the plastic was flexible, so it wasn’t too much of an issue in positioning the roof over the shed base. A bit of toing and froing and using the spatula, it did nicely click into place.
There are a few aluminium posts at the door that need to be fixed. The self tapping screws they supply do not self tap at all. I used an electric drill with a thin drill bit to make pilot holes. The screws then fitted ok.
Apart from that the instructions are clear with all parts suitably marked. End result was a good shed and a nice addition to our Keter collection!
Make sure you check overall size
Although ordered 6x4ft it was smaller than I expected, make sure you. take into consideration measurements including roof overhang, which made it smaller internally. Table I removed from existing 6x4ft shed would not fit!
Otherwise lovely shed.
Pretty good shed.
Put up shed myself easy enough. It’s not thief proof.
Careful to have floor and roof pieces fully lined up before screwing. It’s sturdy when fully built.
Ppl complaining about fitting the roof. Yes it looks impossible at first but it actually works great. Just put the back in first , slot that in with tool supplied or a scraper. As I slotted the back part of the roof the sides almost just slotted in by themselves and with help it wasn’t a problem. You want help to put some pressure on the top of roof when screwing in. Make sure you have the shorter screws left to screw around window. Nice looking shed but it’s 5ft 4 wide and definitely 6ft high on the top angle. Shelving will help to make use of that high area. Floor is not very solid but i used it fine without support.
It took me most of a day to build, with additional help from time to time. Generally, it went together well, but the roof is a bit tricky – seems best to get the front attached first, put in a couple of screws to hold it and then get some weight on the back to slot it in.
The other tricky bit is the self tapping drill screws used on the door and aluminium door frame. An electric drill with screw fitting is needed and in a couple of places I had to drill out the frame to get the screws in.
But it looks great when built and hoping it’ll last well.
This is a very nice shed indeed. Top marks for appearance. It is a little on the insubstantial side compared with a wooden shed, but it is quite acceptable for a plastic one with just 4 metal elements to it — i.e. the strengtheners that you slide into the central struts front and back of shed and the side struts of the door. Points to watch nevertheless: It’s not until you open it up and read the Care and Safety Guidelines on p 32 that you read Do not attempt assembly on windy (that’s obvious) and cold days. No definition of cold or reason why. Well, if you’ve bought it in the winter you really have to get on with it. It’s probably because the plastic is more flexible when it’s warmer which would help with fitting the roof. This was a nightmare. A plastic flange has to be fed over the top of the walls on the inside of the shed, helped by the plastic spatula that’s in the kit, and the flange is so stiff that it’s quite a challenge (one of mine was pinched in by the packaging and very hard to prise over the edge). It also needs more that just two people when it doesn’t go on easily, and you really need to be inside and outside at the same time! It needs easing over the top edge on the outside as well as inside, requiring more than the one spatula supplied. Again, when it’s cold, the wall panels don’t slide very easily sideways into the grooves in the plastic struts. I had to slide mine downwards into the groove from the top, not easy holding the panels near the bottom with all the weight above me, standing on a step-ladder! Not that any of the parts of the shed are heavy.
Re those central struts linking the two front panels and linking the two back panels, the rigid metal rod goes down right into the trough in the edge of the base but the plastic part sits on the upper edges of the trough. At the back, mine stood up a little bit over the top of the walls so that my roof when fitted bows up very slightly in the middle, although there was still plenty of depth of flange to screw it to the walls. The metal side members of the door were slightly too long for the pre-cut aperture in the door panel, so I had to thwack mine in with a hammer (using a piece of wood to protect it, of course). This meant that the top and bottom plastic door frame parts are also slightly bowed, though it was still possible to tap them home in the corners.
My shed came with extra screws in each pack, which is very useful when the screws shoot sideways out of the screwdriver and disappear into the lawn, gravel or wherever. No, I didn’t lose any, managed to find them all! They say that no pre-drilling is required, but a tiny hole does help, especially with the self-drilling screws that go into metal. (The holes in the metal parts for fitting the hinges and bolt are pre-drilled — I found these were not 100% fully aligned but ok).
The instructions are pretty good, but they do need studying very carefully, as always with these things. Good luck — or have it put up for you!
The shed is great – once it’s together. We were fine putting the flooring & side pieces together, but had trouble with putting the roof section on as the inner lip that clicks onto the top of the side panelling was warped slightly so it made it difficult to attach. You definitely need two people to put this together. The little tool that comes with it is definitely needed too.
Once together though, the shed is very sturdy. I would definitely recommend.
Do not hesitate to buy this 64 Keter shed! You will not regret it! It is absolutely perfect and just what I needed!
My daughter spent some time researching sheds, and decided this was the best and most value for money with good reviews. I was a little apprehensive but I needn’t have been!
I hope my video helps in showing the actual size and well made, sturdiness of it. It is ventilated too. And I bought this shed in the winter and it has snowed and rained heavily, but the shed has stayed sealed and dry!
I had some work done in my garden and the shed got a bit dirty from the debris, but I simply mopped it off. I love that it’s plastic because it is so low maintenance; no rotting, rusting, or varnishing needed.
I found a man who’s main work is assembling keter sheds! It took him just a little over an hour to put up without a hitch!
I am SO CHUFFED with my shed!
If you’re in Greater Manchester and need the number of the shed man, message me.
Thanks Keter!!!
Bought this Keter shed as I have bought and assembled Keter apex sheds before. The last one 8 x 6 shed. This little penta shed took just as long due to the roof assembly which poor and fidely to say the least. Definitely requires two people. Come on Keter let’s have a redesign on the roof. Also found a rubber mallet handy in all aspects of the assembly.
For a decent shed these days you need to spend a grand or more, so for 335 quid, I wasn’t expecting much.
I was pleasantly surprised though, once I’d put the thing together. It was reasonably sturdy and completely weatherproof although the floor was a bit Bendy. The supplied floor just isn’t very good on its own and definitely needs a solid layer of wood over the top of it.
I had some spare click-flooring, although a sheet of plywood would work just as well, so I placed that down on the floor and the shed became completely functional and practical.
I only needed it to store some junk from my other shed, so I installed some freestanding plastic racking and loaded it up. The weight of all the stuff has made this shed completely solid and it looks like it would stand up quite well to Gail force winds.
Empty, the shed is very light and easy to move around and reposition, but loaded up with items, it’s as solid as a Rock. The weight of the items press directly down onto the shed floor and that is what pins it into place, hence I strongly recommend laying down a sheet of plywood or other solid floor material to help spread the weight.
It was reasonably straightforward to assemble, although it did take half a day. The instructions were relatively simple to understand although some bits could have done with a more in-depth explanation or larger expansion of drawings.
One thing to note, the top of the doorway is pretty low and lined with a metal surround and I kept banging my head on it, when loading it up, and it really hurt!
I would conclude that this shed is ideal for storage, because the weight of the stored items would weigh it down and hold it in place, but it probably wouldn’t be much use if you were looking to use it mostly empty as something like a potting shed; without anything weighing it down, it probably would stand up in gales.
First up this seller was the cheapest in the UK for this shed, every where else was sold out. it took me 1hour and 50 mins to build and every part is labeled and the labels peel off easy. you needs a power drill with good Philips screw driver bits as if by hand you will not last 20 mins. YOU must have a solid base. I had a cement base and its vital for a good build.
I replaced this due to my old wooden shed being rotted. Argos sold this but it was never in stock but this seller had it on the best offer. highly recommended. and the roof is tricky to put o but im 6f 6i tall so no hassle for me. Glad i never tried to get this in my car. even an estate would struggle.
I also ground bolted this using concrete bolts. drill the holes then screw in the bolts in each corner, that night we had gale force winds in Glasgow and the shed took a heavy battering and NO damage at all its very strong once built, don’t forget a paddock for the lock. best garden item i have ever bought.
I bought this shed for general garden storage. The instructions were clear and it was relatively straightforward to assemble, even in cold weather where plastic is normally hard to work with.
Had no issues with the assembly. It is a two person job. An extra couple of people when adding the roof also helps as extra eyes will help with the alignment and getting it fully into position.
Everything fitted very well. Small pilot holes were useful at times for the metal parts to speed things up, but only if you have a small enough drill bit as the self tapping screws do work and need to be able to do their job. Building the base, roof and door indoors also worked well. Those are the main build tasks as the walls fit together very quickly once you have the base built.
Once built the structure is very solid. It has a metal frame which, with the corrugated plastic, puts strength in the right places. It’s also light enough to lift and move into final position with some extra hands.
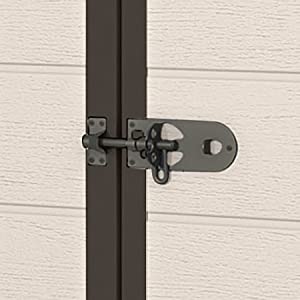
I won’t be putting a lock on. If doing so then you’d want to look at different screws for the hinges and lock hasp as the door could be unscrewed, but I won’t be using it for anything of value and don’t want intruders causing unnecessary damage trying to break in.
Adding an internal floor is worth considering. 12mm ply has made for a solid interior at low cost.
Overall, for what this is, I think is good value.
I'm happy with the final resul
This ended up being very easy to assemble. The instruction manual was clear and easy to follow.
The only issue which I have is that the floor is very very flimsy if you stand or kneel on the floor it will leave an indentation mark that will not come out.
I have had no choice but to reinforce it with plywood.
This is not suitable for putting expensive items in as a thief will not have any problems breaking the door to get in.
I certainly would not recommend you putting expensive bicycles in there and expecting them to be safe.
It does say that it require two people to assemble this item but I had no problems doing it on my own.
The roof is a little bit tricky do on your own but it is doable.
It did take me 7 hours to complete.
I have purchased several Keter products in the past and needed a new shed, so when I saw this in the Black Friday deals I thought I would give it a try!
It arrived at a decent time and the delivery crew text ahead, they also carried it to my garden which was very helpful, as the packaging is large and heavy!
The shed is difficult to assemble, and I could have assembled it all myself, apart from the roof. Putting the roof on needs two people – especially if like mine, the panels were slightly warped. The spatula tool is very useful for getting the panels all lined up and in place. I would advise when fitting the roof, to attach to the back first and work to the front.
The window assemble seems flimsy, and some clear silicone will make sure it stays water tight for now – i’ve emailed Keter for advice on a replacement. They have always been good in the past. The vents I will also attach some mesh inside like other reviewers have mentioned – to keep anything from getting inside.
Its not yet rained so I haven’t been able to test it for water tightness. However, my worklight inside – there was no light leaking through any gaps so I feel it will be fine.
I like the fact this is plastic and requires very little maintenance once it’s fully built. BUT. . . It is fiddly, with literally hundreds of screws which are all self tappers, and they screw into the frame to add rigidity.
Delivery was quick, with it arriving a day early, just over 24 hours with a lead time of 48 stated on order. I managed to get an open box one for 230 which seemed ok for the price. They normally go for about 300.
I’d recommend you use the 2 person rule for building this, as it flexes alot during the build. Push on one part, and another part moves, so a 2nd person is definitely advised to prevent this happening.
It ISN’T a true 6×4 shed, but I won’t go into that in too much detail, as it’s been covered by other reviews. If you can live with that then so be it.
I made the mistake of trying to follow the instructions. Based on a more practical sense in doing the build, I’d suggest doing it this way:
Build the floor panel
Build the roof panel
Build the door including aluminium frame ( drill required)
Layout the 4 corner frame pieces, then attach each one to the relevant wall panel.
Then provisionally screw all the side pieces together to form a tight framework, including using the 2 middle spacers.
Fitting the roof is probably the most difficult part. Youl need to use the flex tool provided in the box and a bit of brute strength to flex the frame to fit the roof on tightly. I’d recommend a more suitable floor panel. The one provided is like corrugated plastic.
I reckon if you do the build as I’ve highlighted it would only take a maximum of 1-2 hours.
I tried following the instructions and took longer mainly because they didn’t seem very logical to me. You may feel differently.
Inside is decent for size, we’ve got 2 kids bikes, a lawnmower, ladder, stepladder, garden hose, and other bits and bobs and there’s still a bit of space left.
The fact it’s plastic and maintenance free is it’s saving grace. To be honest I could have built a wooden frame and used overlap or T&G in less time.
And next year I probably will.
Hope this review helps. If it does please be kind enough to let me know by hitting the helpful button.
Best regards.
I had been looking for a little shed to store some of the things previously kept in my garage to make them easier to access when the car was in. Something within budget, not too large and watertight were my main requirements. I read the reviews for this on Amazon and discounted it as a potential option due to all the negativity online, but then after spotting one on display in B&Q when trawling round the various DIY shops looking for something suitable, I decided to give it a whirl and Amazon came in 20 cheaper than the shops and as a bonus they’d give me free delivery to my door!
I ordered it on Sunday and had a choice of delivery days and times from three days hence. Working full time, I opted for 7-11am Saturday and was impressed to get a telephone call (albeit automated) confirming my delivery on the Friday evening and informing me that I’d receive a phone call one hour before it was delivered. Sure enough, the delivery guy called at 8.30am this morning and by 9.40am it was in my garage waiting to be assembled. The packaging got slightly torn as the guys removed it from the truck, but as I needed to rip it open anyway, I wasn’t too bothered!
I unpacked it all in the garage and spread the various pieces around, putting all the smaller things like screws on the garden table next to the area where I wanted the shed. I then dutifully checked all the pieces were present (they were!) and began building, following the instructions page by page. I’m fairly adept at DIY, and often ignore instructions for things like this, but I’m glad I used them. The only thing I ignored was the ‘two person’ requirement for building… I built it single handed, although there were times when I needed to be a contortionist and so I see why having a second person would be a benefit!
By 1.30pm I’d built my shed. It’s not the strongest thing you’ll ever have, but for what I want it’s perfect. The seals all seem pretty good which was my main concern as I wanted it water right. It’s on a patio base but as they’re no longer completely even, I laid some marine plywood on top to protect the underside of the floor.
The shed footprint is definitely a good few inches smaller all round than my 6ft by 4ft marine ply base, but I was aware of that when I bought it and it still fits in all I need it to. It’s sturdy enough for my needs and whilst it might be screwed from the outside, I defy anyone to unscrew the millions of screws in order to get into it… you’d have to be a determined burglar! I’ve not bothered screwing it to the ground as with all my junk inside it, there’s no likelihood of it moving. It is, however, light enough when empty that if I needed to relocate it then I could and it was certainly helpful being able to slide it around on the ply when I was building it as you need to be able to get all the way round it when you’re putting it up, but I want it right back against a fence.
To conclude, I’d say don’t believe everything you read in the reviews on here. If you want a large, solid, sturdy shed that’s completely vandal proof and going to last forever then this isn’t for you, but if you want something relatively easy to build (I’m a single female after all!) that looks quite smart and fits a fair amount of stuff in (mower, garden tools, two adult bikes, a wheelchair and three gazebos!) then this fits the bill and is very reasonably priced. My advice… go and look in the shops so you know what you’re actually buying then order hassle free from Amazon!
Well we read all the reviews most positive a few negs ..and still decided to go with buying it and we’re very glad we did. We paid 188 quid total bargain as the cheapest price we found online was 229 some wanted 299. X press XL delivered it and they were amazing GGurdeep carried it all round the back of the house and put in my garden they provided two texts on line tracking and a call 25 minute before delivery such a grand service. It came on Friday and Saturday morning my husband and I were in the garden at 10am I took instructions as hubby never reads anything and I said he was to follow everything I said lol. We laid everything out on the table screw wise and small parts ..propped all the panels up against the fence and worked EXACTLY TO THE INSTRUCTIONS. We didn’t undo any part until we were sure it was the ones we needed , so we didn’t mix anything up ..they are all MARKED with the correct numbers and THEY ARE EASY TO FOLLOW how people can say they were not I have no idea. We started and copied the diagrams to the letter only moving on when we’d completed the first bit and so on , the only thing we did different was we used a SILICONE sealent to ensure full adhesion of all the parts for protection and also the lubrucation made it easy to manipulate. EVERYTHING JUST POPPED INTO PLACE. We built it together in 4 hours seriously so so happy with it. The roof was the trickiest we starte at the front then realised the sloping roof was dragging the back down and it wasn’t right. So we moved round the back I stood on a stool and he was inside with the black plastic spatula tool (please use it as it makes life very very easy ) the back roof popped into place and we secured it with the screws once in place all the sides and the front popped in to. You have to put your weight in the roof while the other one feeds the lips Into place and then screws them down. Perfect job we did a high five in the air and were very pleased. The next day we went to B&Q as the flooring supplied is not for heavy standing or traffic (he wanted to put his heavy tool cabinets in there ) he measured the space on the floor (smaller than 6x 4 inside ) and he got a piece of hard flooring cut to size then Cut in half , came home popped it down and sealed the join as one bit wouldn’t go through the door it went in in two sections then screwed it down to the existing floor.. Solid as a rock and ready to go, he run a cable for the lights and he’d already purchased a round ceiling light that comes on when you walk or move near it and stays on till you walk away, perfect for the little shed(we have one in our hall brill lights ) .. There’s a new rug on floor and all his HE shed stuff is in place.. IT IS SMALLER ONCE BUILT INSIDE THAN THE SPECS SAY only moan so KETTER needs to adjust that when advertising shame but it’s not bothered us.. We would buy again in a heart beat as its a fine good looking little strong shed (seems more fragile until it’s built so give it a chance ) and served the purpose he wanted it for. WHOO HOO you should buy one 2 ..