Less4Spares ProShield™ Window Tint Roll | Expert Grade
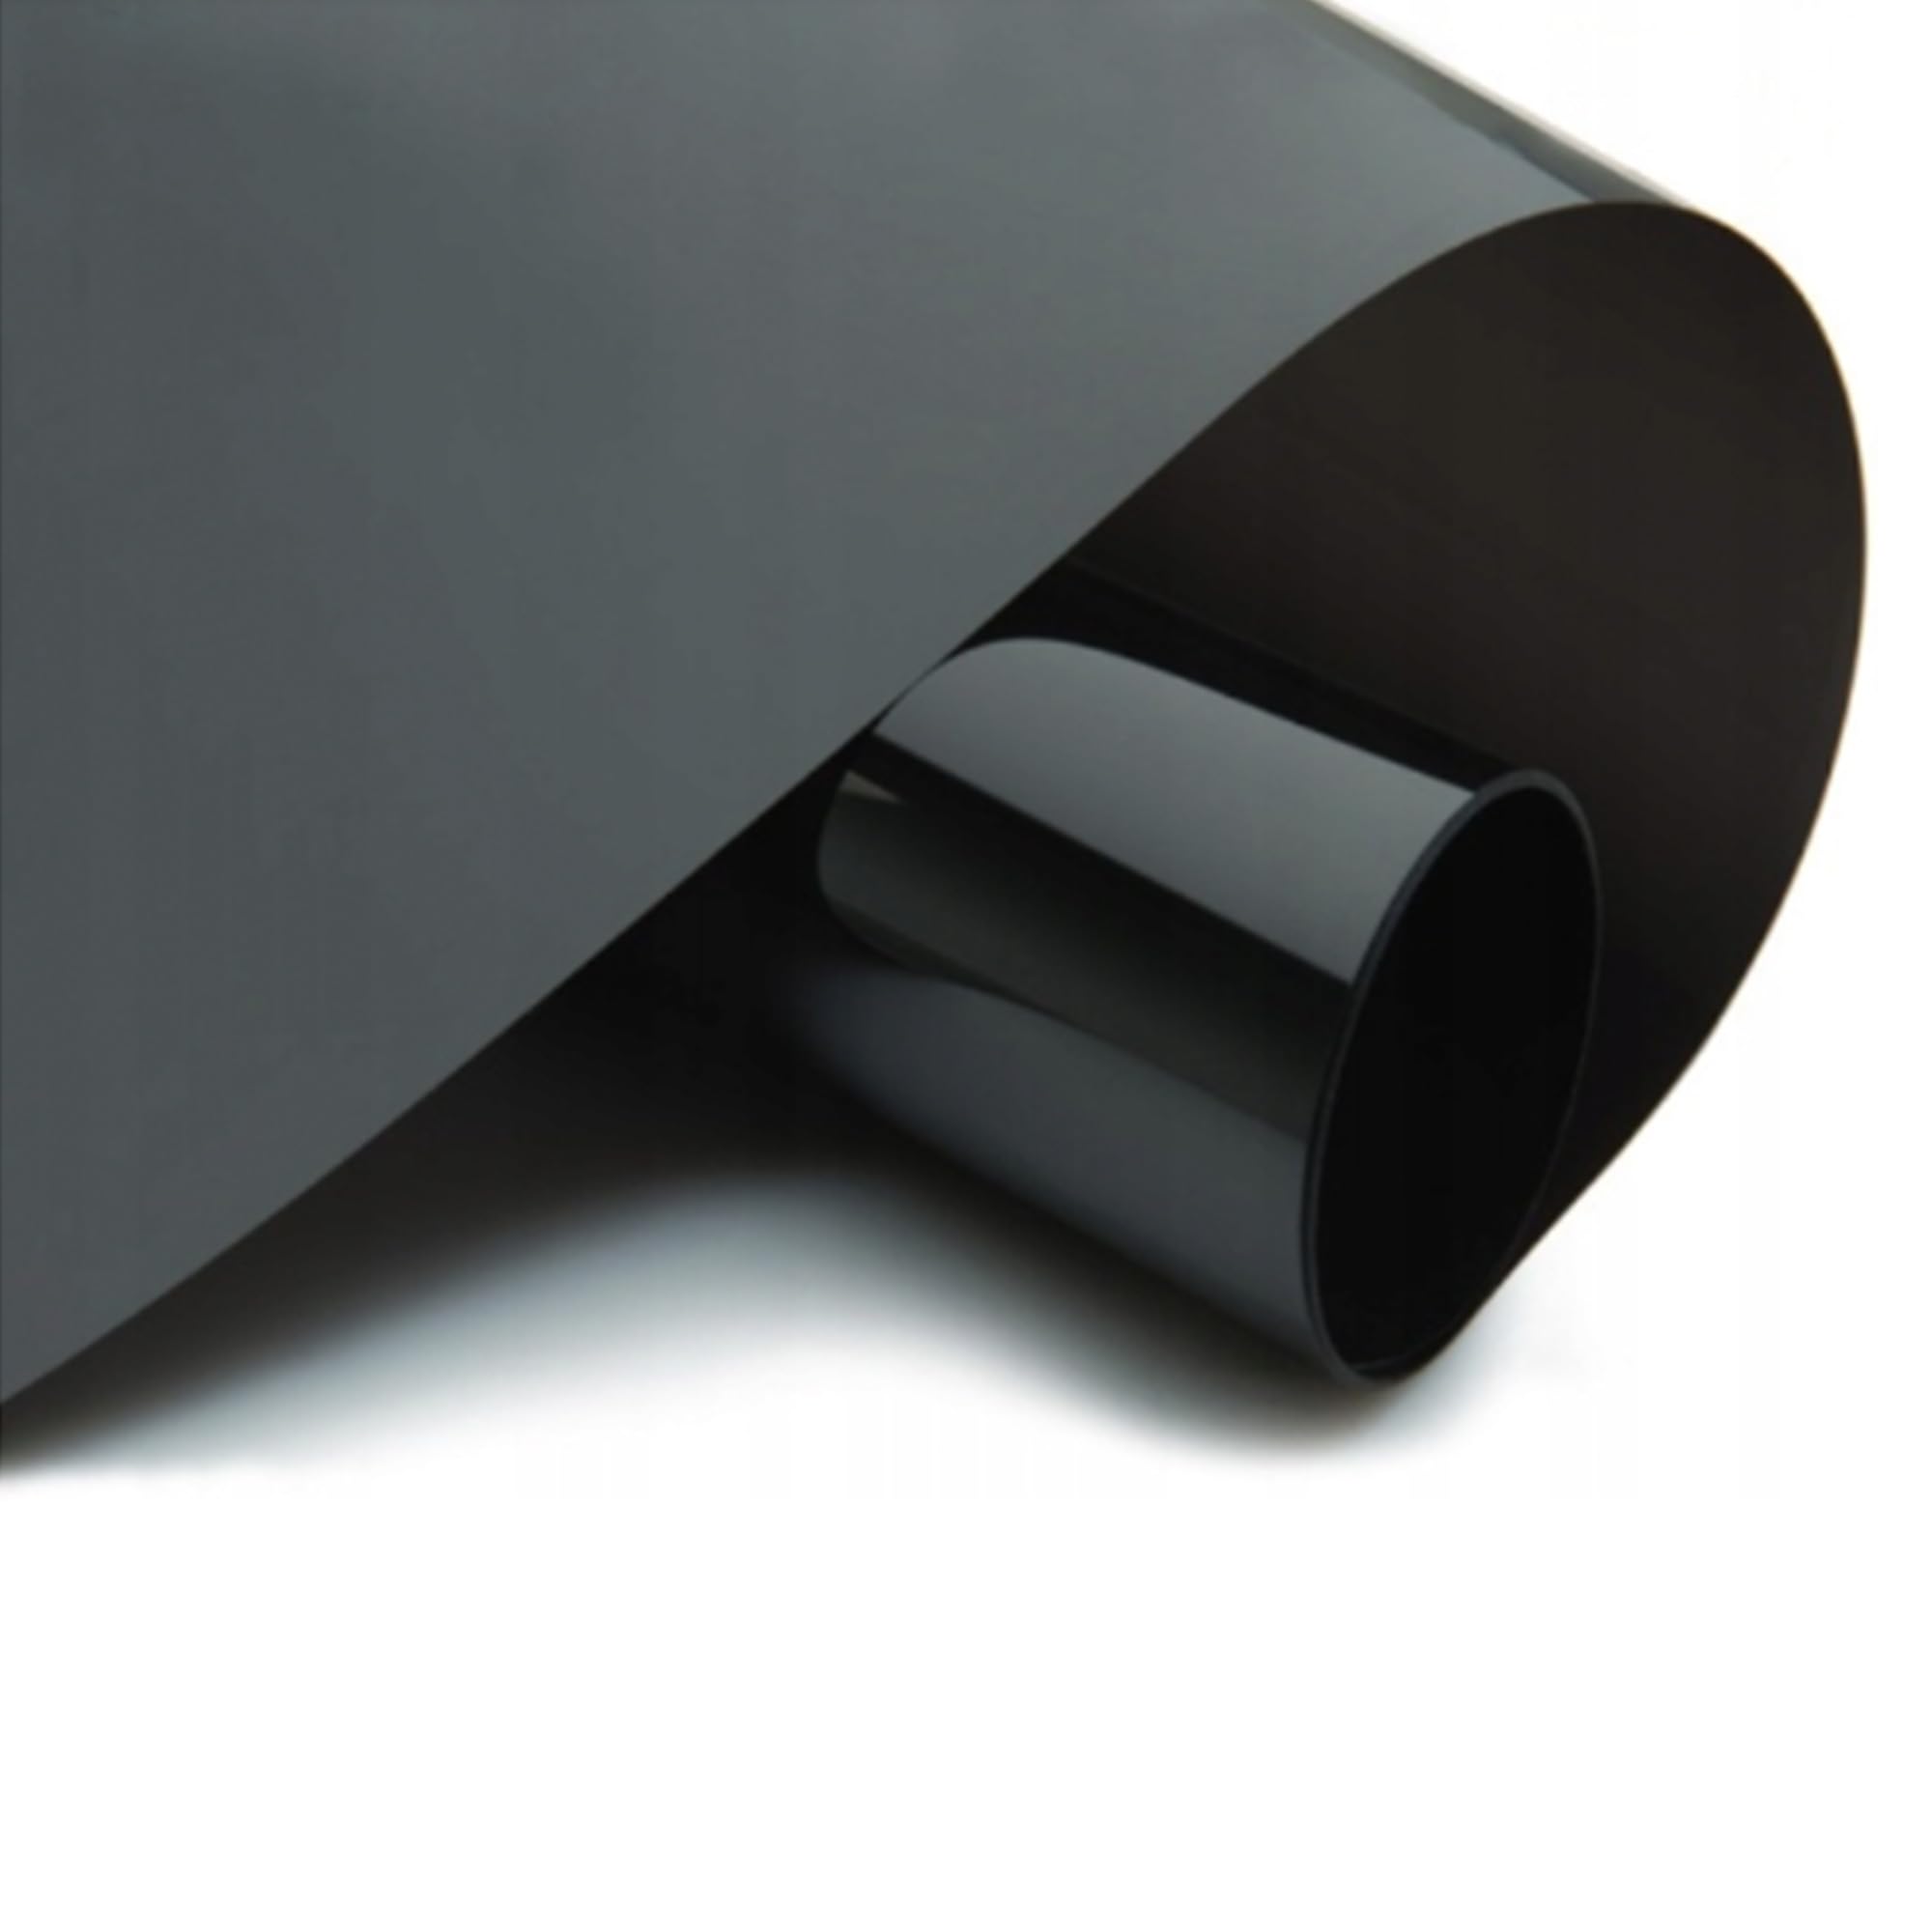
Less4Spares ProShield™ Window Tint Roll | Expert Grade Film for Cars, Vans, Home Windows & More | 75cm x 6m, Limo Black 5% | Superior UV, Glare & Privacy Protection | 2 Ply Enhanced Durability
| Weight: | 700 g |
| Dimensions: | 600 x 65 x 0.01 cm; 700 Grams |
| Brand: | Less4Spares |
| Colour: | Limo Black 5% |
| Dimensions: | 600 x 65 x 0.01 cm; 700 Grams |
Tint looks good, but is very thin!
The tint itself looks fine when applied. The issue is, it feels rather thin and can crease during install. I had to re-apply once because of the creasing. If you know what you’re doing, this should be fine. Otherwise, be cautious. I’d recommend this product if you have experience in the field.
Easy to work with in good weather and and looks grea
My husband has experience of tinting the windows on his cars, so although he isn’t a professional, he does have a good idea of how to apply the window film and he has always succeeded in producing a professional looking finish.
He has recently acquired a small car for his commute to work, so was determined to give it a little make-over, which included tinting the windows.
My husband selected the ProShield Window Tint Roll in the light smoke 35% shade, for the two rear side and rear window of his car.
My husband has not been able to fit the window tint yet because we have been experiencing heavy rainfall and high winds over the last few weeks and he hasn’t wanted to take his other (classic) car out of the garage. He knows that even a gentle breeze will make it impossible to do a good job of fitting the window tint outside in the bad weather.
There is more than enough window tint supplied, so my husband has cut off a small piece to fit a sunshade across the top of his windscreen. The sun can be very low this time of year, so this tinted film is ideal to help reduce the suns glare when driving and it works really well.
My husband found the film easy to cut using the supplied retractable blade and he didn’t have any difficulty removing some air bubbles with the plastic scraper card (also provided).
He is very pleased with his sunshade and can’t wait for the weather to improve, so that he can get started on tinting the other car windows.
Got the 25% Medium smoke tint, on reflection I should have gone for the 15% Dark smoke tint, but I’m still very happy with the result. I think 15% would have been perfect, making the rear interior of the car even darker, but didn’t want to go over board and look like a pimp mobile, or a Limo.
This is my first time tinting, watched hours of youtube tutorials, and eventually waited for a decent weather forecast to do the job. I have now learned a new skill after a whole day of faffing around and many failed attempts, too embarrassed to say how many – but I want the job to look perfect, and as such, if I can’t get it right, I just peel it off and start again – luckily with 6m of film provided on the roll it was enough for me to complete the job.
A few tips.
1. You will need a decent blade, the one provided is not the easiest to use
2. Get some tape, anything will do, to help you pull the backing cover off the tint
3. Use 5 drops of fairy liquid in 500ml sprayer, you want a fine mist
4. Have a hot air gun to hand (The kind you use for paint stripping etc)
5. Lastly – patience – perseverance –
I found the Tint film didn’t seem to shrink (like I had watched on youtube) and mould to shape when heated, it instead became more pliable, which enabled me to more easily squeegee out the long vertical lines that form at the top and bottom of the window – maybe this is because I am a novice, but I am fairly confident after all my attempts that this film isn’t great at shrinking, so for that reason it only gets 4 stars, though the final install is perfect, I can’t help but think that it could certainly have been easier!
For Flat windows with no curvature, I am sure this film is dead easy to install, but for cars it is very difficult requiring quite a bit of expertise to get a nice finish, and it won’t be achievable without a hot air gun.
Decent quality tint film!
This is a great quality tint film. As with all tinting it’s definitely not an easy process! Usually required cutting to precision then applying with soapy water and ensuring all the bubbles are squeezed out.
Preparation of the surface is key as well as making sure there’s no dust particles that get stuck in between.
The film it’s self is of great quality although separating the adhesive layer is quite tricky! If you can persevere then the outcome is great!
Versatile and Easy-to-Use Window Tint for Home and Ca
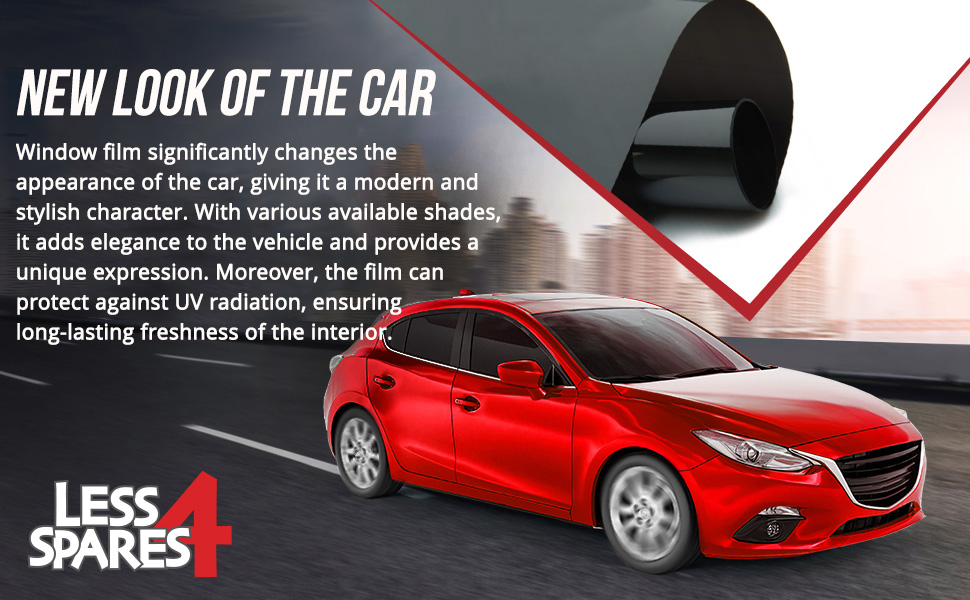
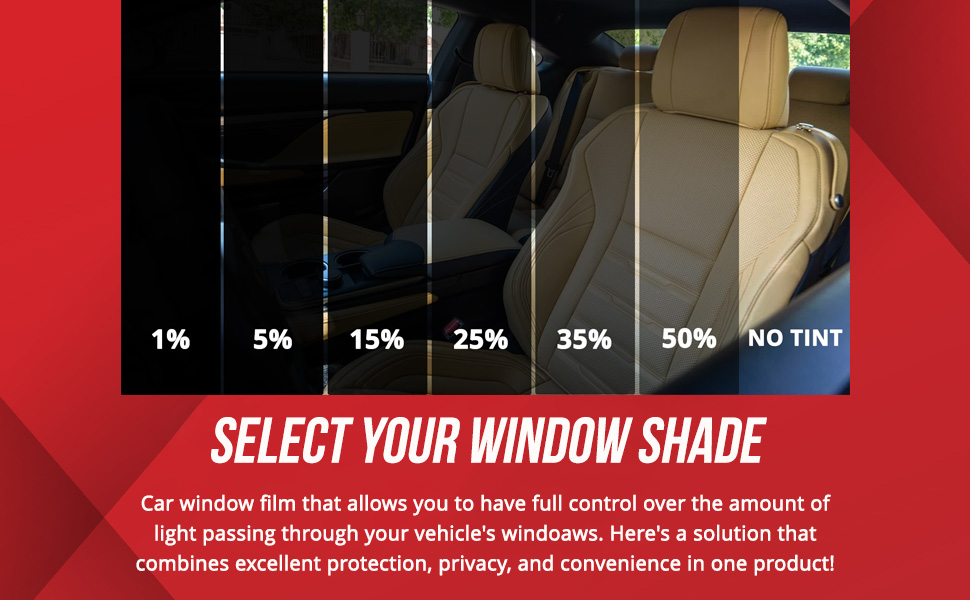
This Less4Spares ProShield window tint is a great option for anyone looking for a versatile and easy-to-use window film. It is available in a variety of shades, from subtle to dark, so you can choose the perfect one to match your needs. The tint is also generous in size, measuring 75 cm in width and 6m in length, providing ample coverage for home windows or vehicle application.
This window film is ideal for both home and automotive window tinting projects. It can be used to enhance your home’s privacy, block harmful UV rays, reduce glare and heat, and help in energy conservation. It can also be used to give your car a sleek and stylish look.
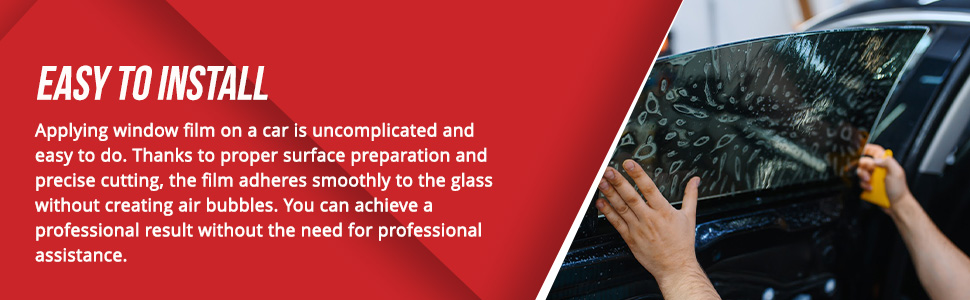
The tint is easy to install, even for beginners. It comes with an adhesive backing for a secure fit, without the need for professional assistance. Simply follow the instructions included with the tint and you’ll have your windows tinted in no time.
Overall, this Less4Spares ProShield window tint is a great choice for anyone looking for a versatile, easy-to-use, and affordable window film.
Here is a more natural-sounding version of the review:
I recently installed Less4Spares ProShield window tint on my home and car, and I’m very impressed with the results. The tint is easy to apply, even for a beginner like me. It comes with clear instructions that are easy to follow.
I chose the darkest shade of tint for my car, and it looks great. It gives my car a sleek and stylish look, and it also helps to reduce glare and heat. I’m also happy to know that the tint is blocking harmful UV rays.
I chose a lighter shade of tint for my home windows. I wanted to enhance my privacy, but I didn’t want to block out all of the natural light. The tint I chose is perfect. It allows in plenty of light, but it also makes it difficult for people to see inside my home.
I’m very happy with the Less4Spares ProShield window tint. I highly recommend it to anyone looking for a versatile, easy-to-use, and affordable window film.
Very easy to use
Good quality product. I had to tint my back windows as my child has light sensitivity and this worked rather well. Can pop windows up and down and so far no tears or scrapes or anything in film.
Take your time and watch a few YouTube tutorials because there is a knack to getting it just right!
Good but bit difficult to cut once on window
I put this Less4Spares ProShield Window Tint 1% on one of my windows. Instead of using a spray bottle with soapy water I used a soapy sponge on the window, then placed the sheet on it. I used a squeegee but couldn’t remove the bubbles fully. Cutting the sheet was a bit tricky even with a sharp knife but eventually I managed it.
Make sure to find out which side to put on the window – I found it out by putting tape on both sides and pulled them apart.
The adhesive tape which was holding the film was very sticky it left some residue, which was a bit annoying.
When it’s dark outside and the light in the house is on you can see the inside, but it’s still better than when there’s no film on the window.
Feels well made
The actual film feels well made and been watching lots of videos of how to use it. The tint ia really good but havent testing this for ease of install yet as havent tried that side. Tempted to use bedroom window as a guinea pig before car.
Works well
I’ve applied this type of window film any times, so I’m reasonably familiar with the process, which is always a bit fiddly, and generally a little bit heart-stopping at the point that you think for sure that you’re not going to get all the bubbles out! But with patience and a good amount of soapy water, you always do.
A lot of the modern versions of window film I’ve used have also been self-clearing, in that they have micro-holes which slowly clear our any trapped air, giving you a really nice finish with less effort, and also mean that if the film dries, and you spot an air bubble that you missed when squeegy-ing, it’s no big deal as it’ll degass and clear in a few days. I would have loved to see this in the darker tints here.
This film cuts very easily with its backing on though, which is nice. I generally cut a little bigger, and use a scalpel to get that final neat edge, as I always find that trying to get the film to cling with no bubbles, whilst trying to match the edges perfectly is near-impossible. As others have said, using tape to remove the backing, and being sure to spray BOTH the window and the film, makes the job easier.
But this went on fine, the density of the tint is good and even, and I’m happy with the result.
No instructions. Has clear layer that you remove. Use soapy wate
This is the 15% tint which is the 3rd from darkest tint as its counted by how much light can penetrate .
In the UK , you can use this level of tint on any vehicle windows except the drivers side , front windscreen and front passenger side.
It comes as a roll in a postal tube so its flawless and creaseless when it arrives.
We didn’t want this for a car though , I wanted to add a tint to a window on our stairs to allow some light in but avoid fading the pictures on the wall.
At present there is a blind but it needs replacing and as window tint was discussed as an option it was a good opportunity to try it..
The film is massively thin and it has a backing film on it that you remove after you have cut it to shape.
The backing stuff is on the outside of the roll and you’ll need patience and some tape to help lift it.
Once off, the tinted film has a sticky backing, it gives quite light adhesion but on its own, will make it very hard to get placed or bubble free.
You can assist your film application by liberally spraying the window you want to stick it to, with soapy water.
This helps with getting bubbles out and the soapy water makes it more push about able and allows repositioning if you are careful.
As you work the film flat, it pushes the water out and you dont end up with a permanently wet window under it.
You’ll want a spray bottle and a microfibre cloth or good quality squeegee to help get the film on .
The applicator that comes with it is hard plastic but it has nicks in so its not ideal.
You get a small fold up blade for cutting edges. You may want a better tool for cutting curves, I would suggest a scalpel or something similarly pointed.
My daughter will be using the rest of the roll on her roof windows
This allows you to see a lit area easily through it but not an unlit area.
So it works well to see out of during the day, adds privacy and guards against the light fading things .