Creality 3D Printer Ender 2 Pro for Beginner & Kids
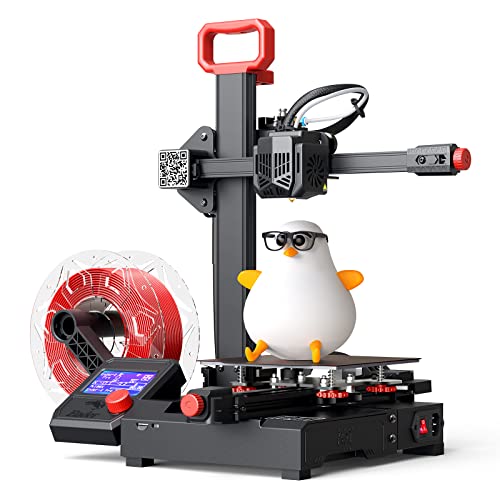
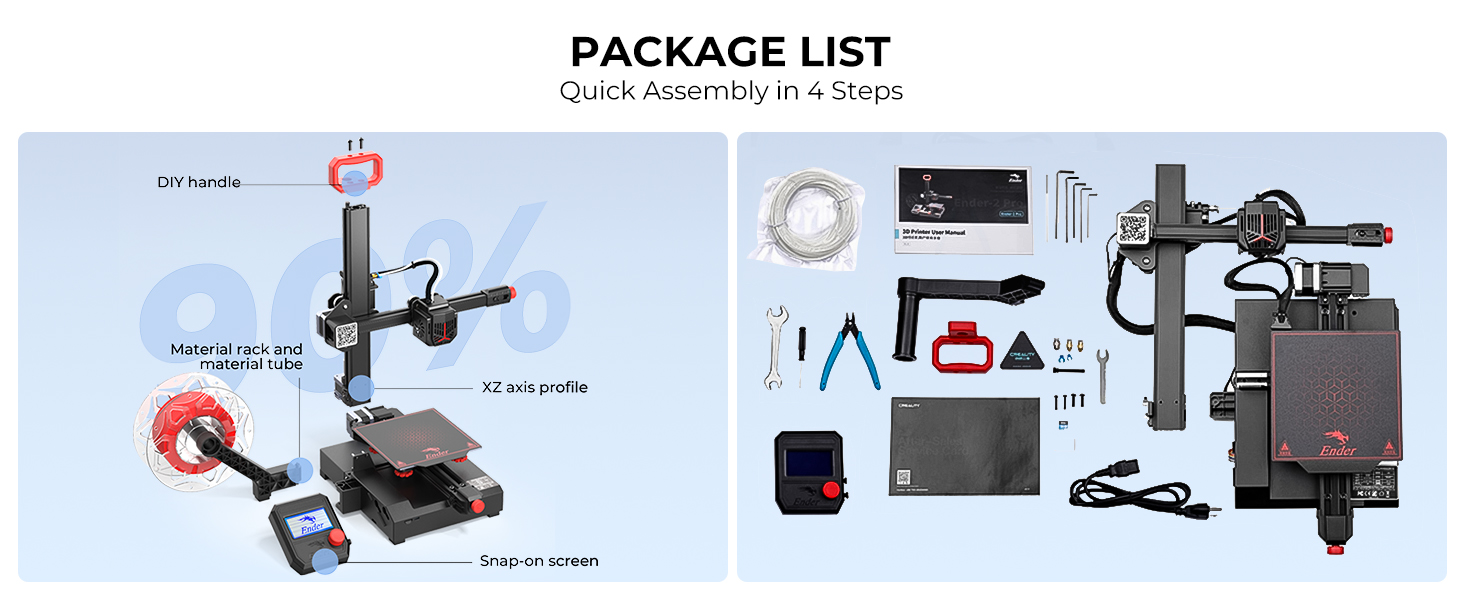
Creality 3D Printer Ender 2 Pro for Beginner & Kids, Portable Mini FDM 3D Printer, Quick Assembly Lightweight 32bit Silent Motherboard Built-in Power Resume Printing Function 6.5 * 6.5 * 7 inch
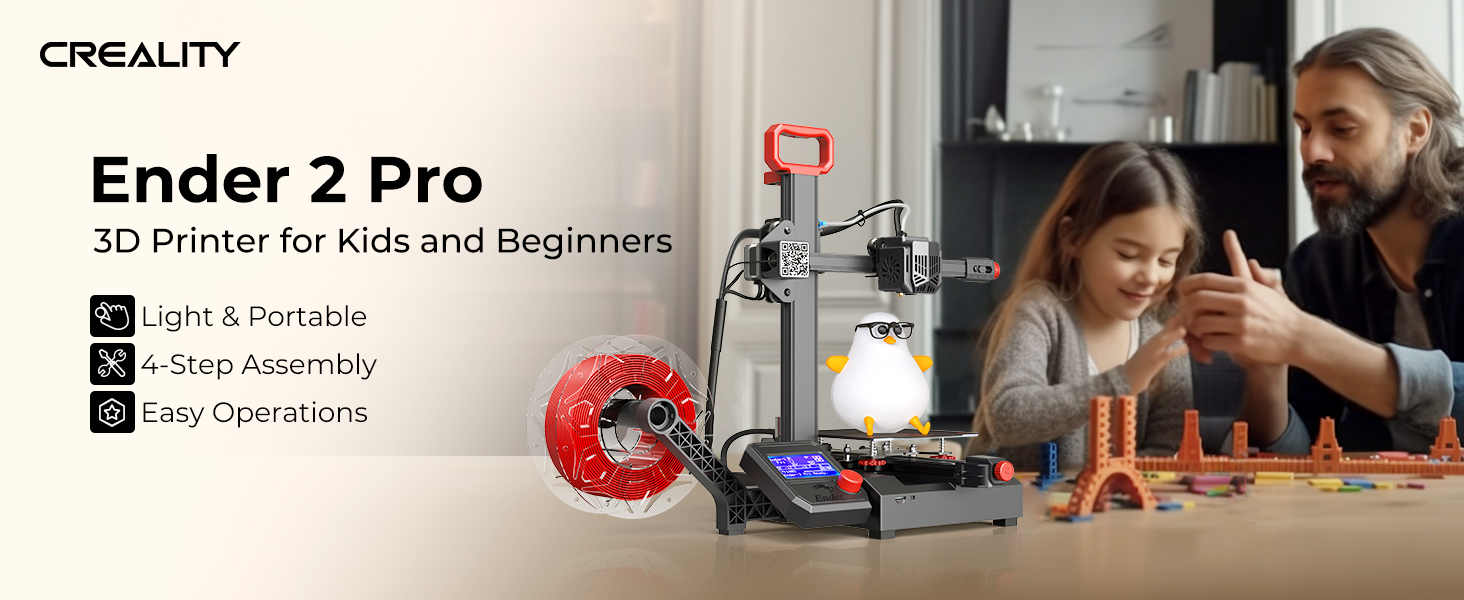
Creality Ender 2 Pro — 3D Printer for Kids and Beginners
Creality FDM 3D Printer
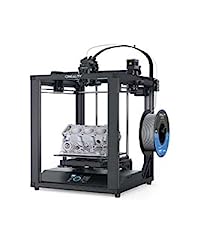 Ender 5 S1 | 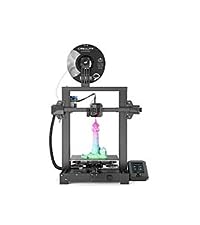 Ender 3 V2 Neo | 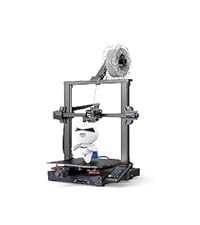 Ender-3S1 plus | 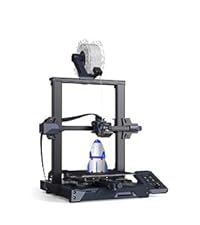 Ender-3S1 | 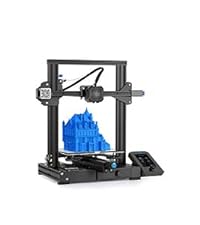 Ender-3 V2 | 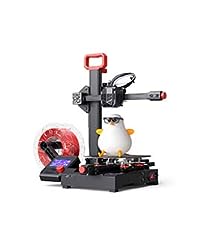 Ender-2 Pro |  Ender-3 Neo | |
| Printing Technology | FDM | FDM | FDM | FDM | FDM | FDM | FDM |
| Printing Size | 220*220*280mm | 220*220*250mm | 300*300*300mm | 220*220*270mm | 220*220*250mm | 165*165*180 mm | 220*220*250mm |
| Extruder | Direct Drive Extruder | Bowden Exturder | Direct Drive Extruder | Direct Drive Extruder | Bowden Exturder | Bowden Exturder | Bowden Exturder |
| Leveling Mode | CR Touch Auto-leveling | CR Touch Auto-leveling | CR Touch Auto-leveling | CR Touch Auto-leveling | CR Touch Auto-leveling | CR Touch Auto-leveling | / |
| Display Screen | 4.3″ Color Touch Screen | 4.3″ Color Touch Screen | 4.3″ Color Touch Screen | 4.3″ Color Touch Screen | 4.3″ Color Touch Screen | 4.3″ Color Touch Screen | / |
So easy a good quality
First of all this is a really good 3-D printer. This is really good for starting off 3-D printing. Also they’re really easy to use as the mechanics to start it. You just use your SD card plug it into laptop or a computer. Once you’ve done that put free printer print to media and start printing usually my printing uses pla + jayo brand one roll is 50prints I know about the screw reviews but I never had the problem I have printed about 20 things so far also the plate the it prints on is a magnet you pinch the front the take the magnet I did not know at first and I scraped it off but from hitting it unleveled it but you just turn the little screws at the bottom with your hands then it should be level use a bit of paper on the printing mat to know if your nozzle is level if it just touches the paper move it down little bit. You need it to be in the middle of just touching it and like hard touching it once it’s in the middle and it making little marks on the paper. Then you know if your printing mat is ready. WILL NOT REGRET GETTING THIS PRINTER!!!!!!!
Great starte
Bought this on sale to try out a new hobby, so easy to use. Few bolts in and its all setup. Software is all on the sd card and tools supplied. Print surface is the best you can get for me (just upgraded my new printer from PEI sheet to the same surface pad). This printer was much more user friendly than my new printer. Changing the filament, flawlessly easy also. Print quality so far looks very good, even when I slice to different sizes.
As a total newbie, the experience of assembling and calibrating was a little frustrating at times. Once everything was set up, started printing perfectly. As far as I know, came with the latest firmware. Been running it non-stop during wake hours since. Great product for so cheap.
For those with bed adhesion problems – CALIBRATE, CALIBRATE, CALIBRATE. Had problems with bed adhesion at first, then started reading forums and the end was not – CALIBRATE. Ender 3’s required perfect bed calibration (even with auto bed leveling). So I invested 2 hours in calibration, and bed adhesion is just crazy. Requires a little fiddling around taking off the print, but been printing full bed-size prints without any bed adhesion problems. That’s how I know that at least in my occasion, not the glass bed but the calibration was the problem. Good luck boys.
Excelle
I work as a DT technician in a school, we’ve just bought 4 of these and I’m very happy with them. Once they’re set up and leveled correctly they’re very reliable. The auto level feature is super useful, though you should do a manual level at least once to get it close first. The quality of the prints are far better then the ultimaker machine we were using previously. My only complaints are that the pla filament that comes with the machine isn’t good quality (but you should be buying filament separately anyway), and the micro SD card that comes with the machine is very cheap and it shows, the gcode files that come pre loaded were corrupted on 1 out of the 4 sd cards, but this was fixed by just copy and pasting from one of the other three. The initial assembly is quite tricky if all you are going off is the instruction manual, but I found out later that there is actually a very comprehensive video inside the .rar file on the sd card once you extract it. Also some good tutorials on YouTube.
They also run very quietly which is great when running 4 simultaneously.
Die Aufbauanleitung htte ruhig ein paar grere Bilder haben knnen. Was sehr gut war, waren die einzelnen Ttchen die gut gekennzeichnet waren. Der Zusammenbau war relativ einfach. Die Inbetriebnahme war etwas schwieriger. Aber zum Glck gibt es You Tube. Alles in allem bin ich zufrieden. Nach einigen Einstellarbeiten, liefert der Drucker Zufriedenstellende Ergebnisse.
Brilliant piece of ki
Fantastic piece of kit. Put it together no issues at all and started printing straight away. I have no previous history with printing but this is so easy and the prints are really good.
Stampante fantastica!
Volendo comprare una stampante 3d per principiante,ho optato per questa.Ero preoccupato per via del montaggio,ma,grazie ai tutorial in youtube, stato facile.Questa stampante stampa con dettagli pazzeschi:vi allego la foto di un busto indiano fatto con lei.Si puo’ stampare direttamente con scheda sd o dal computer (mac o pc.Io uso Mac).La casa madre consente di scaricare gratuitamente un programma che consente di convertire i comuni files stl in files g.code (i files di questa).Ve la consiglio caldamente! Ci sar un po’ da lavorare per la giusta regolazione dell’asse z,andr livellato il piano di stampa con una livella,ma i risultati sono clamorosi! Inoltre stampa un pla molto,ma molto resistente al calore (stampa a 200 gradi).Che altro dire? Buone stampe!
Reliable
This is my second 3d printer and is by far superior to the anycubic i3 Mega s. This is about the 10th print I have done in 3 weeks no problems whatsoever. I really enjoyed building it, which took about 20 minutes. The quality of the prints is just brilliant. The picture is of an alien head headphones holder which I scaled to 2.5x. highly recommended*****
The settup can be a bit complicated when getting the firmware updated, but once that is taken care of and the z offset is nailed down, this is set and forget. This had been a fantastic addition to my printer and I highly recommend it to anyone wanting a more reliable first layer.
The settup can be a bit complicated when getting the firmware updated, but once that is taken care of and the z offset is nailed down, this is set and forget. This had been a fantastic addition to my printer and I highly recommend it to anyone wanting a more reliable first layer.
While I think it's great for someone to learn the manual level process, this speeds up that process for those who are ready to move on and upgrade their printer! Highly recommend.
While I think it’s great for someone to learn the manual level process, this speeds up that process for those who are ready to move on and upgrade their printer! Highly recommend.
An upgrade that is a must have for your 3d printer!
I have been 3d printing for several years now and have built up quite a collection of 3d printers. It all started when I bought my, soon to be off to college for engineering, daughter a 3d printer. I was helping her with it, and I got hooked. That was 5 years and (13) 3d printers ago, lol. I ended up modifying my first 3d printer, an Anycubic i3 Mega S that I got through Amazon, and changed out the hotend with a custom designed one and added a BL Touch Auto Bed Leveling (ABL) probe. Ever since then, adding an ABL probe is one of the first modifications I do to any new printer.
One of the last printers I modified was my Ender 3 V2 with a CR Touch ABL probe. Having an ABL can be, and usually is, a game changer. I run Octoprint on a Raspberry Pi for every printer and there are add-ons that you can use with the probes to really dial in your printer and compensate for any warp or defect in the bed. It saves a lot of time not having to do it manually with a sheet of paper as well.
Recently, Creality, came out with their Neo line of printers and they are modified versions of the printers they have been selling for years and one of the biggest upgrades is the addition of the CR Touch. I have used the industry standard ABL, the BLTouch for years and they are considered one of the best and I can say that the CR Touch compares very favorably to the BLTouch.
The CR Touch is a direct add-on to the Ender line of printers, mainly6 the Ender 3 series including the Ender 3, Ender 3 Pro, Ender 3 V2, Ender 3 Max as well as the Ender 5 & Ender 5 Pro. It was a very easy install and honestly, the part that took the most time was running the cable from the mounted probe to the mainboard. Speaking of the mainboard, if you have one of the older models with the 8-bit mainboard you will want to swap it for one of the newer 32-bit silent boards (V4.2.2 and V4.2.7). You will need to go to their official website to download the new firmware and flash it to the printer (there are a ton of videos and walkthroughs online to assist). After that, you will have a working ABL which will really help with having a good first layer which is the foundation of the entire print!
I have several versions of the Neo series and they all come with CR Touch, so I have been using them for a while. They work great and really help with the first layer. It is an inexpensive upgrade and one I highly recommend!
Works but can be inconsistent with Z-Offse
I finally had the opportunity to install the CR Touch auto-leveling kit onto my Ender 3v2 printer and it was a fairly straightforward process. The most difficult thing about it is getting the right firmware to work with it, and for that I would strongly recommend ditching what Creality offers as it isn’t updated regularly and the current version is far out of date and hopping on the Jyers bandwagon like I did. Jyers is outright tailored to things like auto-leveling, filament runout sensors, adjusting the print settings to adapt to bed tilt.
Effectively what this does is when used with Jyers it creates a mesh for the bed to determine which points are high and low and adjusts the z-axis accordingly. As far as that goes, I’d say it does a splendid job. I used to have a problem where the middle of my bed was too high, but now prints actually appear on the first layer. I’ve used this with both glass and magnetic beds and it works splendidly.
It works effectively as a replacement for the standard Z-Switch but does have a problem in that it will shift quite a lot and require, in my case at least, at least one of the four adjustment wheels for the print bed to be adjusted every print. I’ve found a good workaround process that makes this less dramatic, though.
My current process for this is:
1: Determine Z-Offset in the center. Don’t forget to save.
2: Adjust four corners. Use manual leveling for this first.
3: Create a new mesh for the CR Touch. Again, make sure to save to EEPROM. Make sure to do this for every SD card you use with your printer.
After that you’ll be ready to print.
Overall it’s a new plate to juggle in terms of 3D printer maintenance but I’d say it’s a welcome addition and definitely worth the money if you have problems with a noticeably unlevel platform for your prints. If you’re thinking of replacing your glass sheet, magnetic bed, or heating bed over this, I’d genuinely compare the cost against the CR Touch because it may very well be the cheaper option. If the price isn’t substantially lower, like below 10 dollars, just get a CR Touch.
An upgrade added on worth having.
Ever did something and wished there was an easier way to do it?
Got a ender series well let me tell you that when it gets turned off it will never remember the level settings. Manual leveling is a pain.
When I got my ender-3 v2 a few years ago I went round and round trying to get things to print and didn’t. It’s because the bed never really got leveled correctly. Either the hotend dug into the build plate or it was way too high. Let you imagine the results.
Took a very long time to figure out a system to level out the bed then I became a wiz at leveling it just by looking at the bed and hotend without using the paper or anything. Just got really good at it.
Few years later here is this thing to add to the hotend and suposto level it for you.
The sprite pro came out and was my first upgrade to the printer and nobody heard of it and manufacturer said it’s not compatible but you will see in the picture it can be done. In the same picture you now will see the touch added on too.
It does take time to install and get to look good. Ran the harness inside the sleeve that was already there and made it look great. Reprogramming was not a hard thing but have to get the right one for the motherboard.
If you think it’s all done think again. Just because it has been added does not mean no more adjustment is needed.
Yes that is correct. Manual level is still required. Just have to get it close. Now the auto level will read 25 spots instead of just 1.
Guess it just reads the warp or slight u level in the bed and comps for it.
Prints come out much better and don’t have to have it perfectly level. Remember when I said it does not remember when turning it off. That means relevel each time the printer is turned on.
The touch has given me Good Luck now and I am glad so let it give you Good Luck too.
What a great printe
The is my first 3D printer so I have no object of comparison, but I’ve been pretty happy with it with some minor niggling. The only two materials I have printed is PLA and NylonX which have turned out really quality prints when everything is done correctly. Here are my thoughts on making this printer so much better than it already is and for first time 3D printer owners.
Assembly: WARNING – the power supply is flipped to something like 235V out of the box. If your house is running 110V, you need to flip the switch on the back of the power supply FIRST! The printed assembly instructions were fine and easy to follow. In a couple of cases, it was easier to have another set of hands though, but overall, it’s just screwing things into place and getting the wiring correct. All of the wires are labeled so you just need to pay attention. Don’t be too concerned about the nest of wires hanging everywhere when assembled but do pay attention to how you routed them. If done incorrectly, you can have one of the wires yanked out while the nozzle or the bed moves. Also, the spool holder is shown in the instructions to be assembled on the right side of back right post, extending the foot print of the printer sideways. You can rotate the spool holder to the inside of the back right post (see my picture) making the width of the printer no wider than where the LCD screen is mounted.
First steps: Watch some videos on how to level the bed. I’ve been using the ‘paper method’ with an index card and it’s worked out great. Get familiar with some terminology so you can easily research what problems you may run into correcting your prints. Some terms off the top of my head: STL, gcode, slicer, extrusion, (x,y,z) axis, PLA, ABS.
Upgrades: The two upgrades that I would recommend maybe even before your first print is a glass bed and stiffer bed springs. If you’re going to use glue or hairspray for better adhesion, the glass bed is easy to clean and the stiffer springs means less bed leveling between prints. I tried for an entire day to get the BLTouch to work and decided to just keep it disconnected. The instructions from Creality mentions a Z OffSet setting that’s missing from their firmware and I went down a rabbit hole of recompiling new firmware that still didn’t resolve my problem, so I would skip this unless you have a compelling reason to use it.
Additional thoughts: just use Cura as your Slicer and skip the Creality one which is just an older version, reskinned version of Cura. Look up “Upgrades for Ender 5” for some ideas of what you can add to your printer (like the tool holders and LCD panel cover in my picture). Join /r/FixMyPrint, /r/3Dprinting, and /r/ender5 on Reddit for helpful resources and tips. The firmware that came with the printer is fine so don’t worry about flashing it with anything new. The microSD card has a few STLs on there you should print first with the filament that came with the printer or look for benchy on Thingiverse.