KEYESTUDIO IoT Control Smart Farm Starter Kit for Arduino
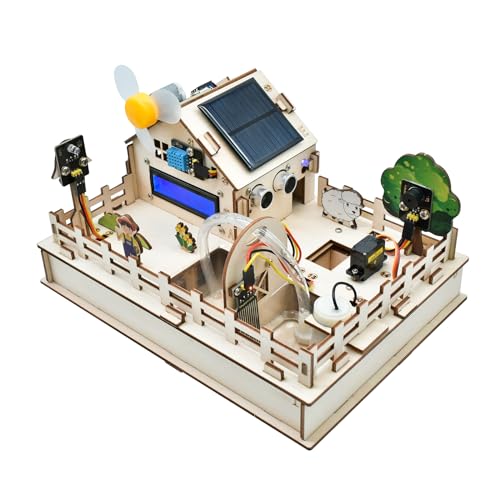
KEYESTUDIO IoT Control Smart Farm Starter Kit for Arduino ESP32, Engineering Kits DIY Electronics Programming Stater Kit for Teens Adults
KEYESTUDIO IoT Control Smart Farm Starter Kit
In this tutorial, our projects comprehensively apply all sensors and modules in the kit, like photoresistor, soil humidity sensor, water level sensor and ESP32 wireless communication module. As a result, by learning this tutorial, you can possess the knowledge that how to use sensors and construct IOT system and that how to realize intelligence in farm management through programming.
Function


ESP32 WROOM Development Board
- Working Voltage: 5V
- Battery Voltage: 9V
- Maximum Output Current: ≤1.5A
- Maximum Power Consumption: ≤10W
I got one of these from inventr.io, for my granddaughter. Due to the physical distance between us, I was not able to support her project. I decided to get a second kit so that I could work through things with her (and her father). Unfortunately, at that time everyone seemed to be out of this kit, but I did find one on Amazon. Now we are all making slow but sure progress.
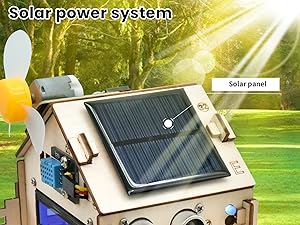
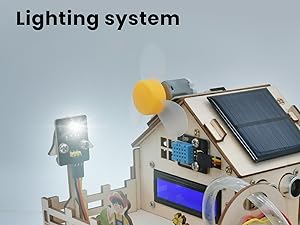
The kit itself contains an Arduino board, a USB-C to USB cable, lots of bags with all the parts necessary, stamped laser cut wood, and a few tools. The instructions are available on their website. The Arduino toolchain needs to be downloaded and configured. When that’s done correctly the reward is a blinking led! This kit teaches on many levels providing real world hands on tasks. As assembly progresses each device is configured and installed, and the accompanying software is written. At each stage the software must be saved, compiled correctly, and downloaded to the Arduino. There are parts like a solar cell, a servo, a display, and many sensors. Each is its own mini project. The skills presented here all have real world use cases. It’s great to see my granddaughter recognize these things in her daily environment. It’s one thing to flip a light switch, and quite another to see the light go on in her understanding!
The only thing I have added to the kit is some wood glue. It helps to keep the wood pressed flat until use for easy assembly. Similarly, when gluing the wood, be sure to place it on a flat surface and put something on top to keep things flat while they dry. Be careful in deciding what to glue and what not to glue. You’ll want to keep access to enclosed areas. I’m thinking that staining the wood pieces will help preserve the look, but I’m not a woodworker. I do know enough that no whole sheet should be coated as it may prevent the parts from coming off the sheet.
As with all electronics assembly, I encourage use of a grounding wrist strap and an antistatic mat. One big spark on a dry day could destroy parts, devices, or the Arduino itself.
Good luck!
There is a YouTube assembly video that isn’t very helpful. Just an accelerated process with no narration or explanation. The PDF that can be downloaded is better bus still hard to decipher. There are blown up pictures that aren’t very clear but if you look carefully you can put it together correctly. Took me about 4 hours. Be very careful routing the wires as they are inaccessible once the kit is put together. Some of the included sketches don’t compile and I have to work that out but that’s part of the learning experience. Overall it’s well made and packaged but expect some frustration. Children without experience in assembly will need guidance.
After working with the kit, I have a recommendation. Keyestudio has an excellent set of tutorials on how all of the components work in their download (URL is in the pamphlet in the kit). Before assembling the farm, you can learn how all of the individual components are controlled programmatically and my advice would be to work through all of the tutorials before you actually assemble everything.